
Editing Tools
Every generated headshot can be refined without regenerating the whole set. The editing tools live behind the Tools menu at the top of the results page, and each one applies to the images you have selected.
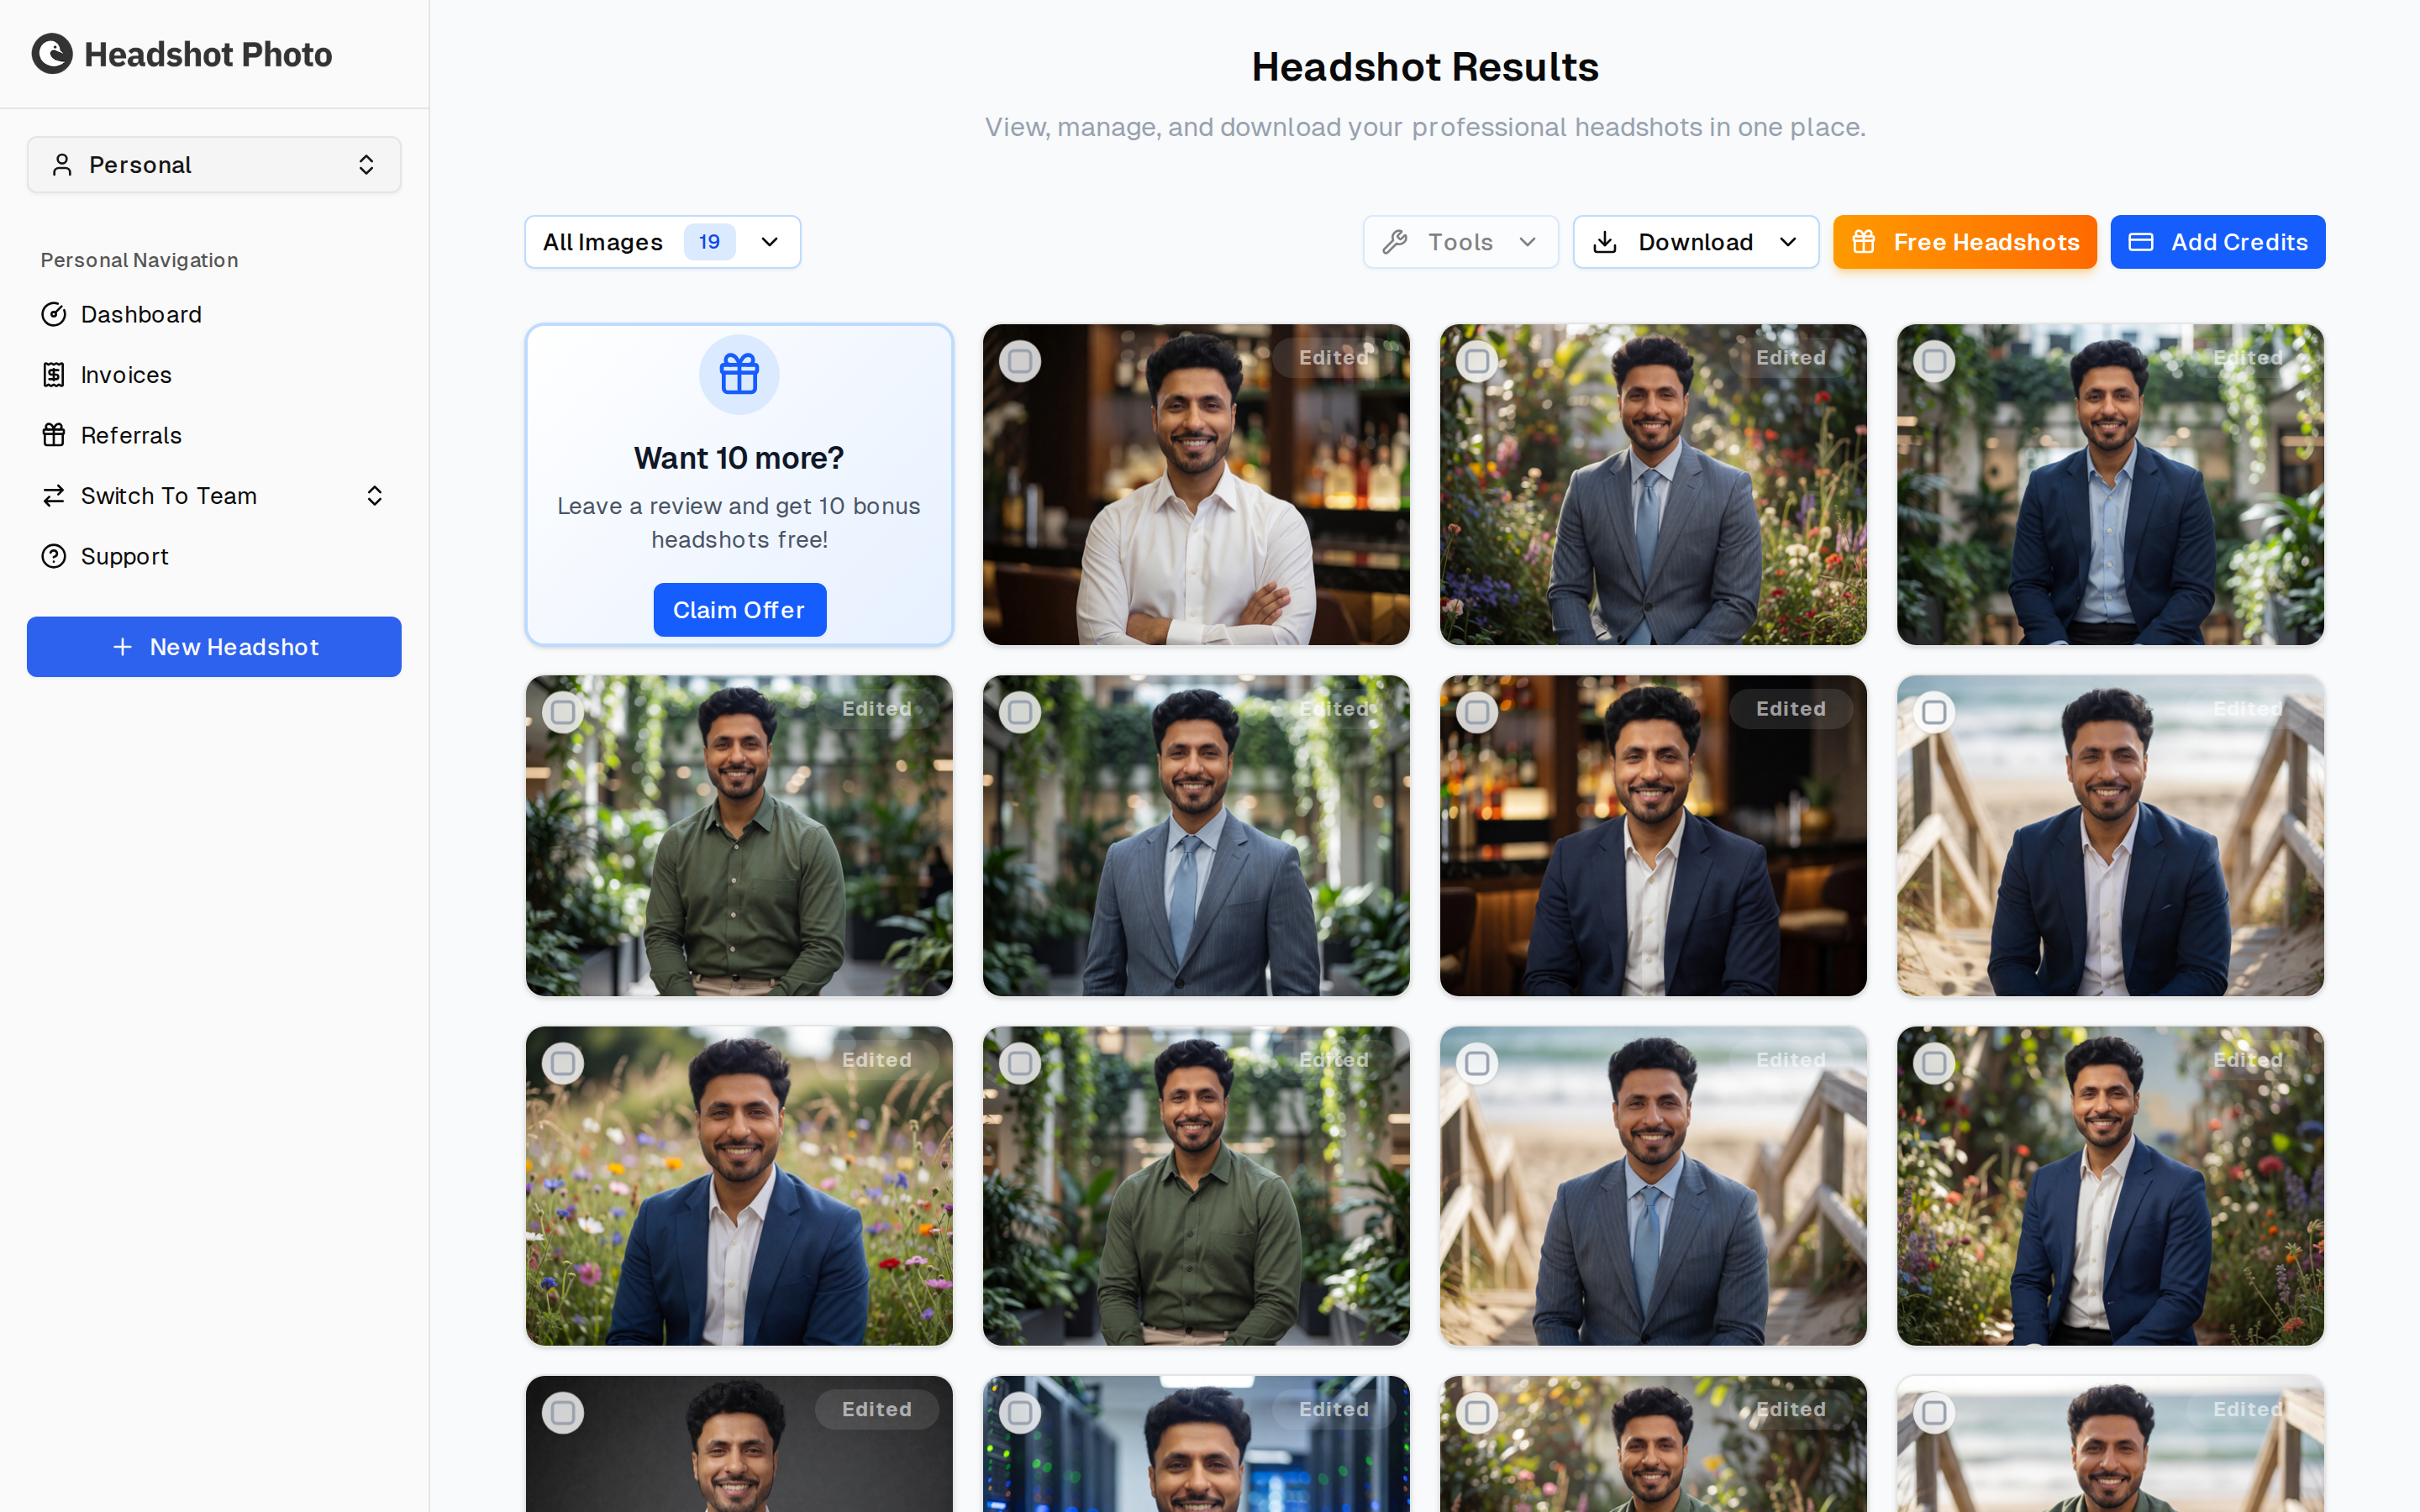
Selecting Images First
Each tile in the gallery has a checkbox in its top-left corner. Tick the headshots you want to change, then open Tools and pick an edit. Nothing is overwritten — an edited image is added to the gallery and marked with an Edited badge, so the original stays available.
What the Edit Dialog Shows
Every tool opens the same dialog, so once you have used one the rest are familiar.
The Before/After Preview
The left side carries a before/after slider — drag the handle across to see what the tool does. Two things are worth understanding about it:
The preview is also marked Beta Feature. That label is about the preview itself, not the tool — the edits are fully available, but the illustration may not match every result exactly.
The Two Badges
Above the settings, two badges confirm what you are about to spend:
| Badge | Meaning |
|---|---|
| N images selected | How many headshots this edit will apply to |
| N credits required | The cost of the tool, per the table below |
Your Credit Balance
Below the settings, the dialog states "You have N credits remaining." This is your combined balance — the project's plan allowance plus any account credits — so it is the number that actually decides whether the edit will run. It turns red when the edit costs more than you have, and reads "You have no credits left." at zero.
An Add Credits link appears in that same line when you are short, or when you are running low (under five), and tops your balance up without closing the dialog or leaving the results page. See Edit Credits.
The button at the bottom reads Apply to N Images and stays disabled until the selection, the settings, and the balance are all in order.
The Tools
| Tool | Credits | What it does |
|---|---|---|
| Smart Edit | 3 | Describe the change you want in your own words and let the model apply it. Use this when no single-purpose tool below fits. |
| Clothing | 1 | Swap the outfit for a different one without regenerating the headshot. |
| Background | 1 | Replace the backdrop with a different scene or colour. |
| Remove Background | 1 | Cut the background out entirely, leaving the subject on a transparent background — useful for placing a headshot on a coloured page or slide. |
| Expand | 1 | Extend the image outward, giving you more room around the subject when a crop is too tight for a profile that wants a wider frame. |
| Upscale | 1 | Increase resolution and sharpness. Worth doing on the final picks, especially for print. |
| Grayscale | 1 | Convert to black and white. |
| Retouch | 1 | Light skin and detail cleanup. |
| Fix Flyaways | 2 | Tidy stray strands of hair around the head and shoulders. |
| Logo on Shirt | 2 | Place a company logo on the subject's shirt. Team projects only — this tool is hidden on individual sessions, because the logo comes from the team's branding. |
Writing a Smart Edit Prompt
Smart Edit is the only tool with anything to type. Describe the change in plain language — "make my hair darker", "add a slight smile", "remove glasses" — in the Describe your edit box.
The prompt is capped at 500 characters, with a live counter under the box. The field stops accepting input at the limit rather than warning you, so a long prompt is silently cut short at the point you hit it. Keep instructions short and concrete; a single clear change works better than a paragraph covering several.
Comparing Before and After
Edited copies sit alongside the original in the gallery, so you can judge the change in context rather than from memory. Use the filter dropdown on the left of the toolbar to narrow the gallery down while you compare.
Worked examples of a background change and a background removal are on the Results and Downloads page.