
For Team Members
Here we cover what a member sees from the moment they open the invitation email to the moment their headshots are ready.
Accepting the Invitation
The invitation email contains a personal link. Opening it shows the team's own logo, if one has been uploaded, and the name of the team being joined.
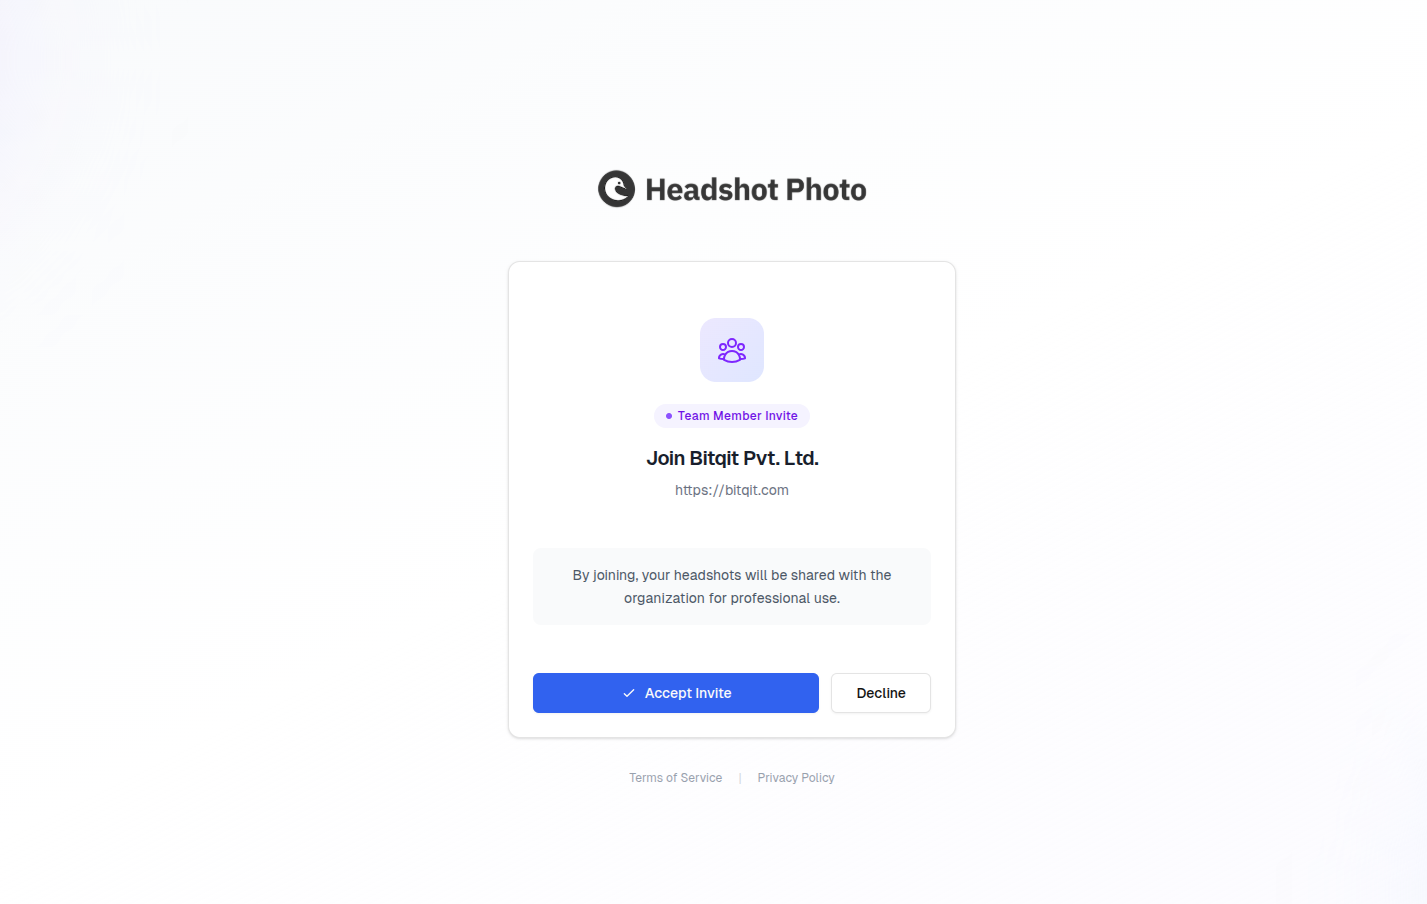
The page shows:
- The invite type — either Team Member Invite or Admin Invite, depending on the role the manager assigned
- The team name and website
- What joining means — members are told their headshots will be shared with the organization for professional use; admins are told they will get access to manage members, view all headshots, and handle billing
- Accept Invite and Decline buttons
Sign In With the Invited Email Address
The invitation is bound to the email address it was sent to. A member who is already signed in under a different address sees a Wrong account warning instead of accepting, naming the address they need to use, with a link to sign out and switch.
Members who are not signed in at all get a Sign in to continue button, and are returned to the invitation automatically once they finish signing in. A new member creates their account at that point.
Where They Land After Accepting
| Role | After accepting |
|---|---|
| Member, team pays | Straight into their own headshot session |
| Member, self-billing team | The payment step first, then their session |
| Manager / admin | The team dashboard |
Declining
Decline invalidates the link immediately. A member who declines by mistake needs a fresh invitation from their manager — the original link cannot be reused.
Missing or Lost Invitation Emails
A member who cannot find the email does not need it resent. Once they sign in with the invited address, a blue banner appears across the top of the app reading Pending invites — You have an invitation to join team, linking to their pending invitations.
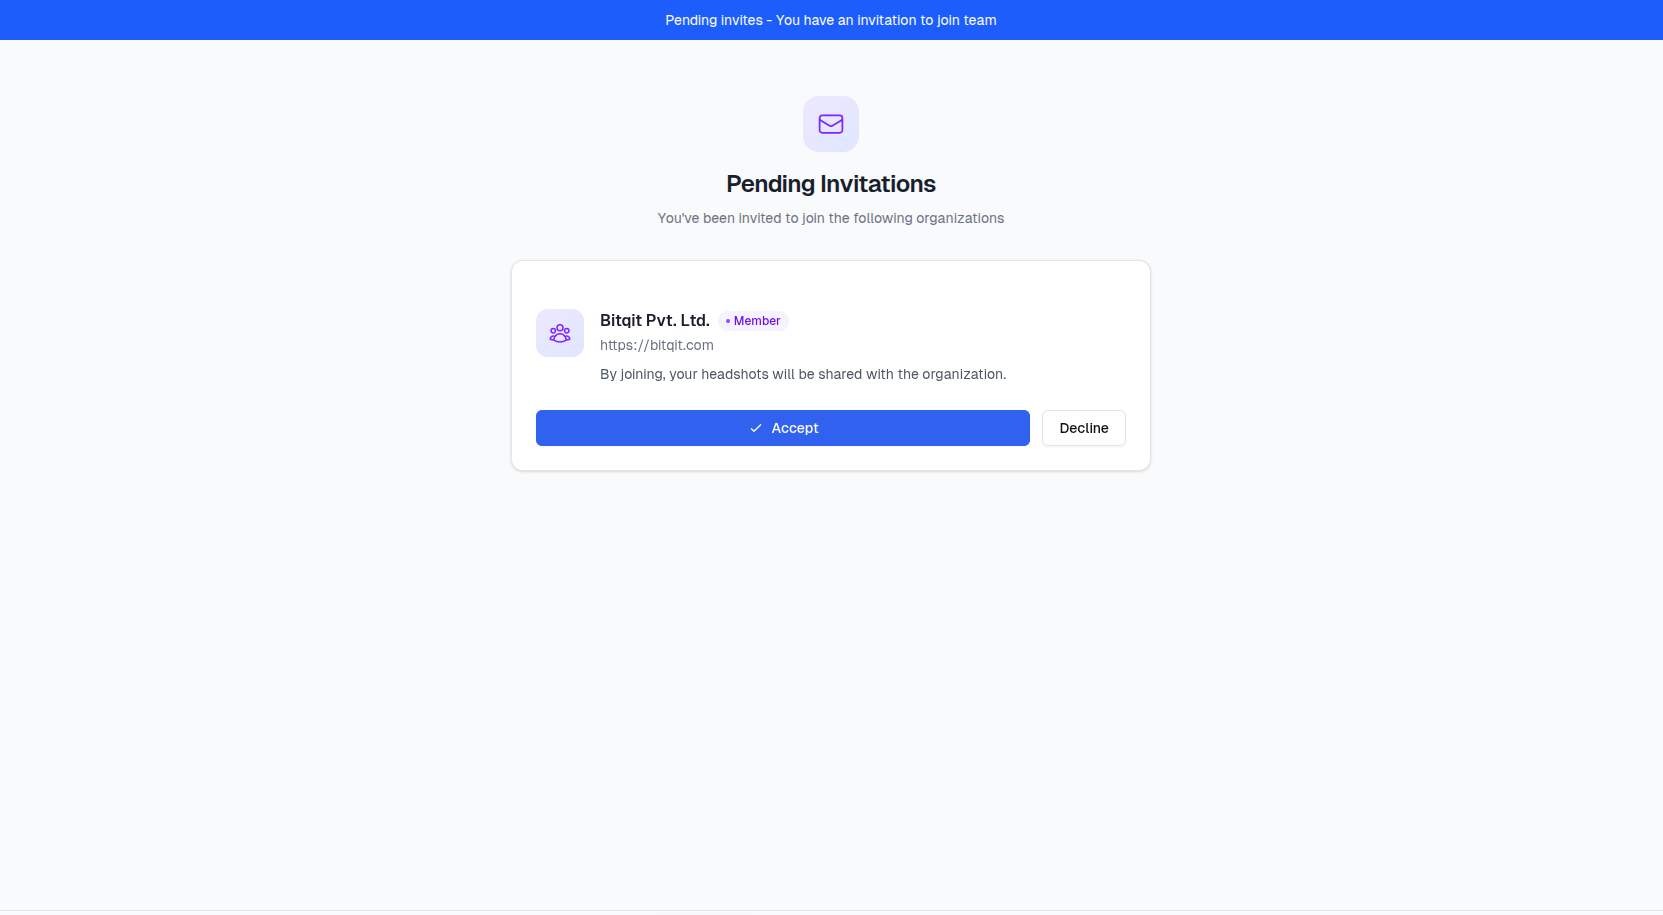
Each entry shows the team name, its website, the role being offered, and its own accept and decline buttons. Every pending invitation for that email address is listed here, so a member invited to more than one team can work through them in one place.
What Every Member Session Includes
Every team member's session is created as a Premium session, and that does not vary:
| Per member | |
|---|---|
| Headshots | 80, high-resolution and downloadable |
| Backgrounds and outfits | Up to 8 combinations, drawn from the team's selections |
| Edit credits | 10 |
| AI model | Trained on that member's own photos |
| Turnaround | About 30 minutes |
The team's choices decide the variety, not the member's. The session supports up to eight background and outfit combinations, but which ones a member actually gets are the backdrops and clothing the team selected — a team that picked three backdrops gives its members three. The self-billing checkout screen advertises "8 unique backgrounds and outfits" because it describes what the session can hold; see Choosing Backdrops.
Note that ten edit credits is not ten edits — tools cost between one and three credits each. See Edit Credits.
Paying, on a Self-Billing Team
If the team has Members pay for their own session enabled in Team Settings, the member pays for their own headshots before they can begin. Checkout opens automatically right after they accept — there is no separate step for them to find.
It is a one-time charge, not a subscription, and it buys exactly the session described above — the same 80 headshots, model, and 10 edit credits a team-funded member gets.
Any discount the team has been given is applied automatically, so the price shown at checkout is the price charged.
Before They Start
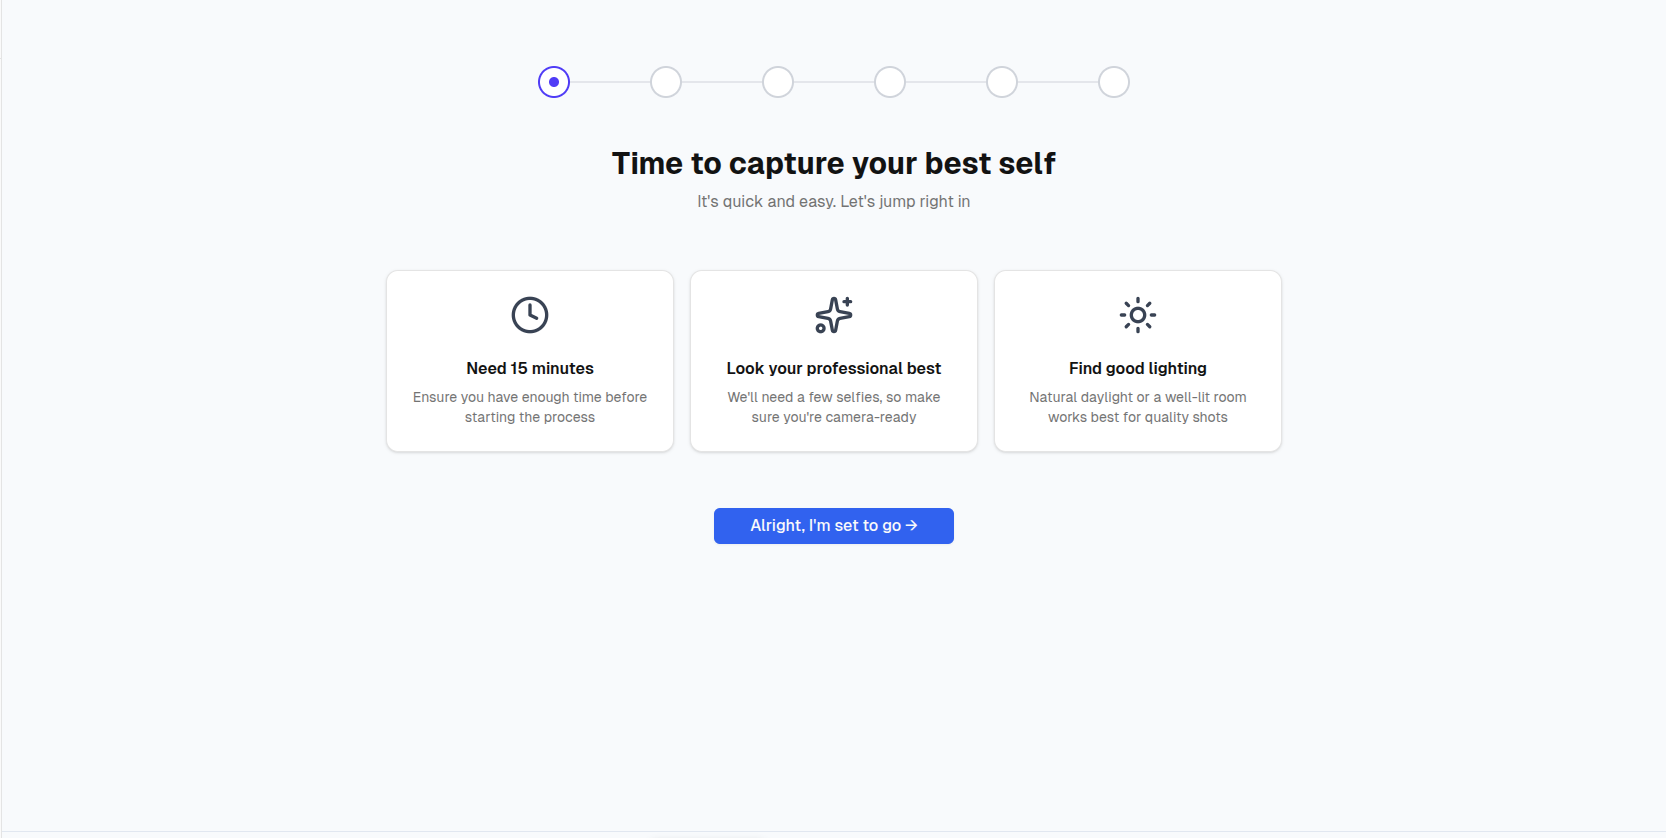
The first screen of the session sets expectations, and it is worth repeating in whatever message you send your team:
| What they need | Why |
|---|---|
| About 15 minutes | Enough time to finish the upload in one sitting |
| To look camera-ready | The selfies they upload are what the model learns from |
| Good lighting | Natural daylight or a well-lit room gives the best results |
The Progress Bar
A row of six segments sits at the top of every screen in the session. It is the individual product's flow, and a team member does not visit all of it:
| Step | Screen | Team member |
|---|---|---|
| 1 | Start — what to prepare | Yes |
| 2 | Personal details | Yes |
| 3 | Upload photos | Yes |
| 4 | Choose backdrops | Skipped — set by the team |
| 5 | Choose clothing | Skipped — set by the team |
| 6 | Confirm and submit | Yes |
So a member has four screens to get through, not six.
Uploading Their Photos
From here the flow is the same as the individual product, so the existing guides apply:
One difference for team members: the number of photos required follows the team's own setting. The default is 8, and a team that has chosen the reduced image set in Team Settings requires only 4.
A confirmation screen follows, summarising their details and photos. It is the last point at which anything can be changed — once they press Submit Photos, the session goes to generation and nothing about it can be edited. Worth saying plainly to anyone who tends to upload in a hurry.
What Members Don't Choose
Backdrops, clothing, and branding are set once by the team and applied to everybody, which is what keeps a set of team headshots consistent.
Members therefore skip the backdrop and clothing steps entirely. Their confirmation screen still lists the backdrops and outfits their headshots will use — inherited from the team — but the Edit Styles and Edit Clothing buttons are disabled.
Getting Their Headshots
Generation takes roughly 30 minutes, and members are emailed when their headshots are ready. They can then view all of them, download individually or as a ZIP, mark favourites, and use their edit credits — the same as an individual customer. See Results, Downloads, and Edits.
Their headshots are also visible to the team's managers, which is the point of joining a team, and is stated on the invitation before they accept.
Troubleshooting for Members
"The invitation link doesn't work"
A link that has been declined, cancelled, or already used shows this instead of the invitation:
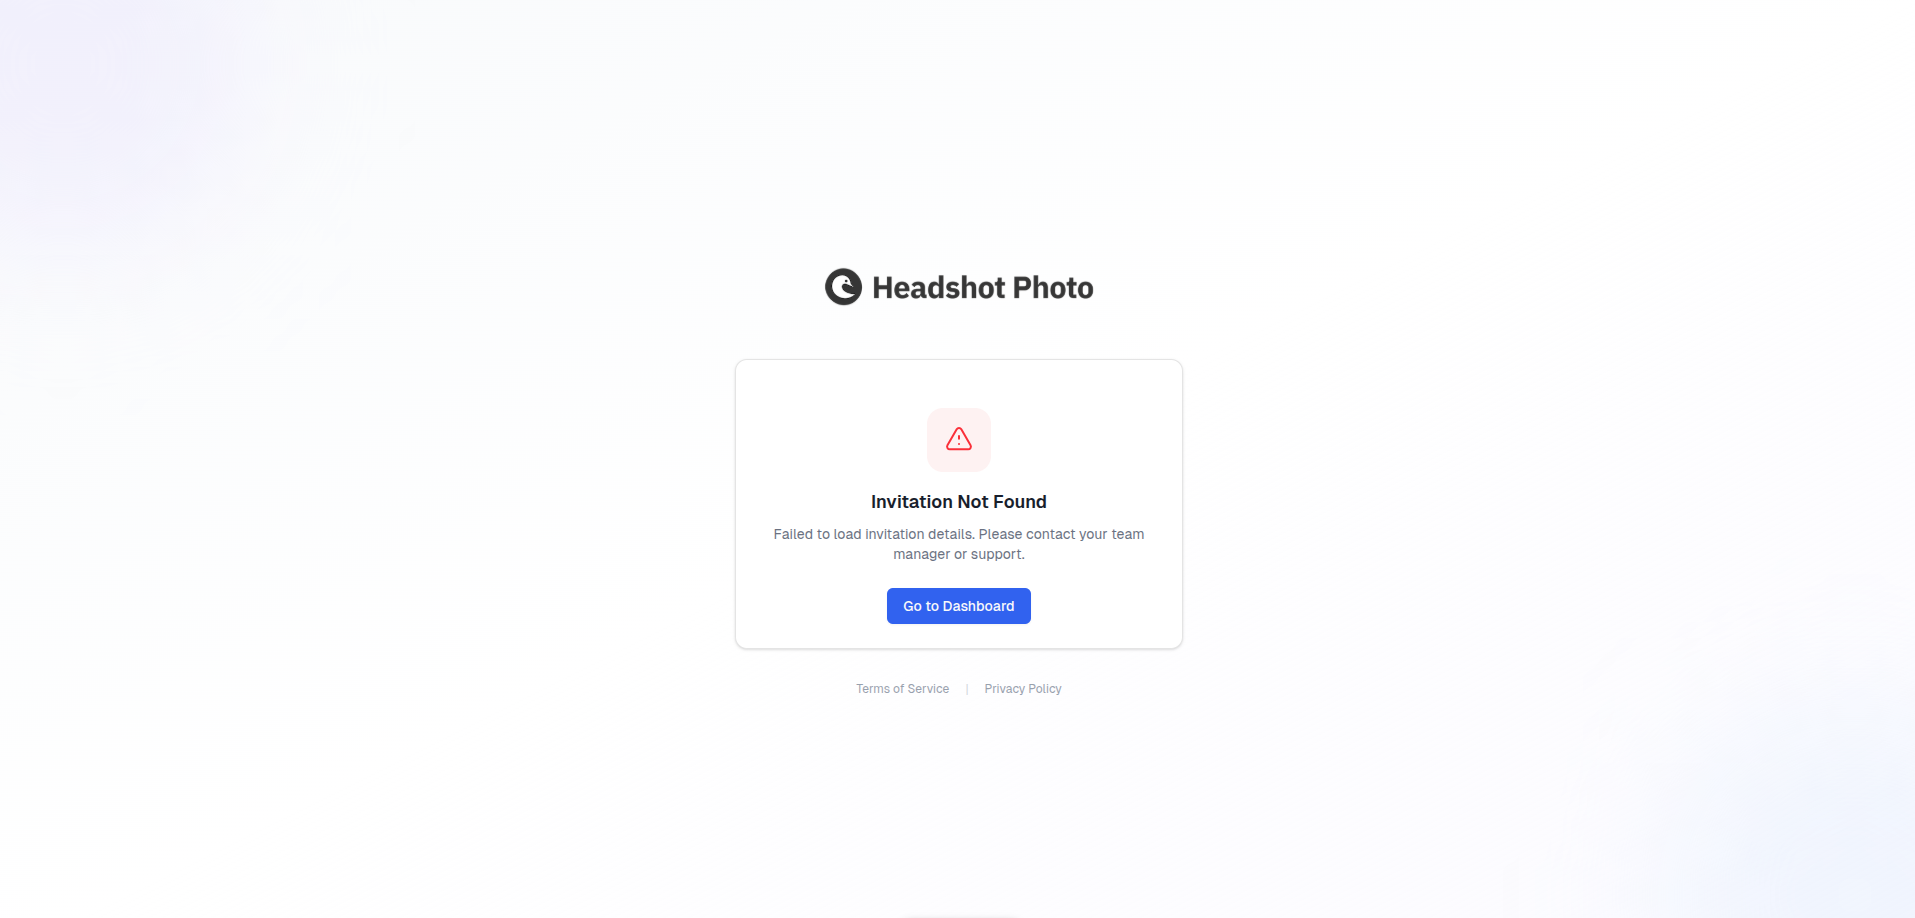
If a member reports this:
- Check which email address they are signed in as — it must match the invited one
- Check the invitation was not declined or cancelled
- If neither, the manager can send a fresh invitation
"I accepted but nothing happened"
They are most likely on their home dashboard, where their session is waiting as a project. Opening it resumes exactly where they left off.
"I can't change the background or outfit"
That is expected. Those are set by the team so everyone's headshots match.