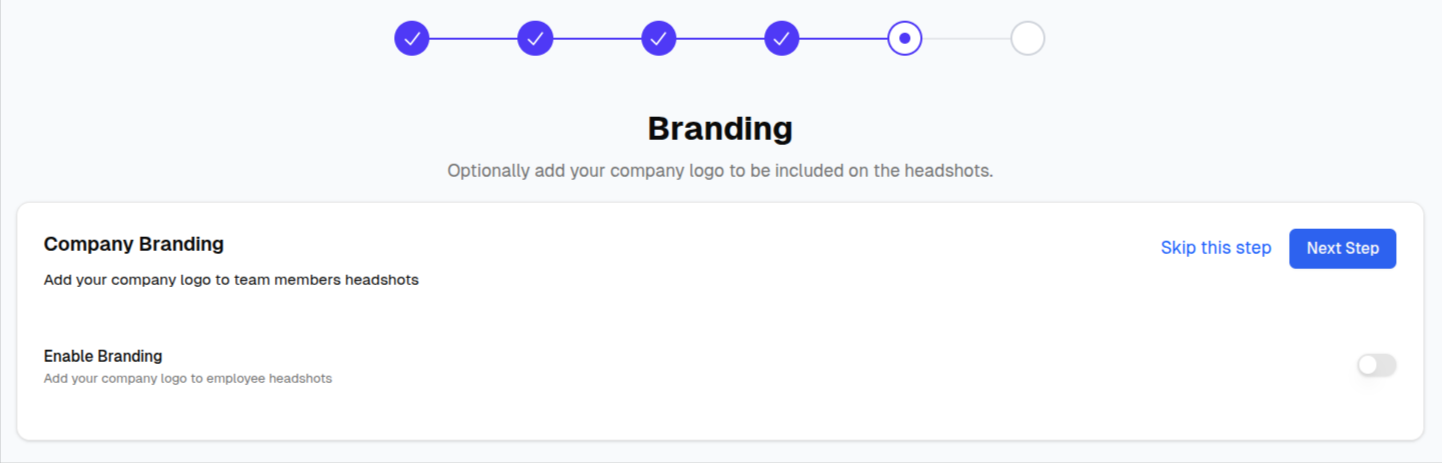
Branding
Branding allows you to add your company logo to every team headshot. This creates a consistent, professional look and reinforces your brand identity across all team photos.
Why Add Branding?
Adding your company logo to headshots:
- Reinforces brand identity across all team photos
- Creates consistency in marketing materials
- Adds professionalism to team presentations
- Makes headshots instantly recognizable as part of your organization
Uploading Your Logo
Supported Formats
- PNG (recommended) - Supports transparency
- JPG/JPEG - Standard image format
- SVG - Vector format for crisp scaling
Recommended Specifications
| Specification | Recommendation |
|---|---|
| Format | PNG with transparent background |
| Size | 200-500px width |
| Aspect Ratio | Square or horizontal logos work best |
| File Size | Under 2MB |
Upload Steps
![]()
- Click Upload Logo or the upload area
- Select your logo file from your computer
- Preview how it will appear on headshots
- Adjust positioning if needed
Logo Positioning
![]()
You can position your logo in any of the four corners of the headshot:
Position Options
| Position | Best For |
|---|---|
| Top Left | Standard logo placement, high visibility |
| Top Right | Alternative primary position |
| Bottom Left | Subtle branding, less intrusive |
| Bottom Right | Signature-style placement |
Choosing a Position
Consider these factors when choosing logo position:
- Marketing materials - Top positions for prominent branding
- LinkedIn profiles - Bottom positions for subtle branding
- Internal use - Any position based on preference
Logo Visibility Settings
Show/Hide Logo
You can toggle logo visibility:
- Show logo - Logo appears on all generated headshots
- Hide logo - Clean headshots without branding
This is useful if you want to generate both branded and unbranded versions.
Logo Size
The logo is automatically sized to be visible but not overwhelming:
- Proportional to the headshot dimensions
- Maintains your logo's aspect ratio
- Placed with appropriate padding from edges
Best Practices
Logo Design Tips
For best results with headshot branding:
- Use transparent backgrounds - PNG with transparency blends best
- Keep it simple - Complex logos may not display clearly at small sizes
- High contrast - Ensure logo is visible against various backgrounds
- Horizontal orientation - Works better than tall/vertical logos
Consistency Across Headshots
Changing Branding Later
You can update branding settings anytime from your team dashboard:
- Go to your Team Dashboard
- Click Branding in the sidebar
- Upload a new logo or change positioning
- Toggle visibility on/off
Changes apply to newly generated headshots.
Branding Without a Logo
Don't have a logo ready? You can:
- Skip branding during setup
- Add it later from the team dashboard
- Use text-only branding (coming soon)
Next Steps
After configuring branding, you're ready to invite team members: