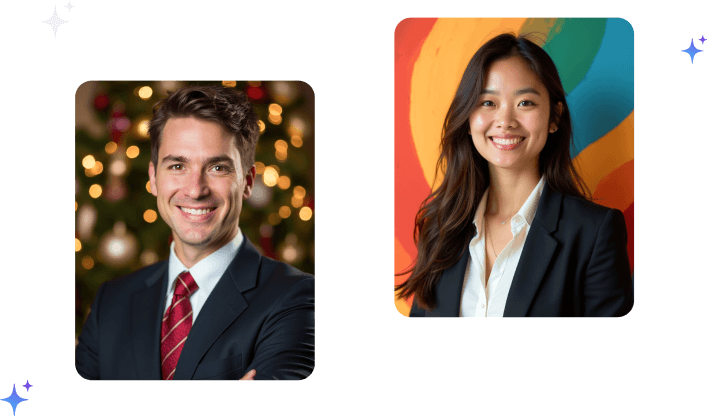
From Selfie to Professional Headshot in Minutes: The 2026 AI Workflow That Actually Works
The process is simpler than you think and more specific than most guides admit. Here's the exact step-by-step workflow for turning casual photos into studio-quality results in under an hour.
The first time I walked someone through an AI headshot session, I expected it to take about twenty minutes.
It took forty-five.
Not because the tool was complicated. The tool was genuinely simple. It took forty-five minutes because the person kept trying to skip the input photo stage. She wanted to just upload whatever was on her phone and let the AI figure it out.
"Can I just use this one from my friend's birthday?"
No.
"What about this one from the team offsite?"
Also no.
"Okay, this one's pretty good, I'm at a conference..."
I looked at the photo. She was mid-laugh, head tilted at a 40-degree angle, with someone's shoulder visible at the left edge. The lighting was coming from stage lights behind her.
Definitely not.
The AI headshot process is not magic. It's a system. And like any system, the output quality is a direct function of what you put in. The "selfie to professional headshot in minutes" promise is real. But the selfie part has requirements.
This article gives you the complete workflow: what your input photos actually need to look like, how to capture them without any equipment, what happens inside the AI model, and how to evaluate the outputs before you publish anything.
Step One: Understanding What the AI Actually Does
Before the workflow, a brief technical orientation. Because understanding the mechanism changes how you prepare.
An AI headshot generator isn't a filter. It's not taking your photo and brightening it or swapping the background. It's doing something considerably more sophisticated.
The system trains a lightweight identity model on your input photos. This model learns what's stable about your face across different conditions: your bone structure, your eye shape, your skin tone, your distinguishing features. It then generates new images of you by applying that learned identity to professional studio conditions: controlled lighting, clean backgrounds, appropriate composition.
The key word is "learned." The model can only learn what the inputs teach it. If all your inputs show your face from the same angle under the same lighting, the model learns a narrow slice of your identity and produces outputs that may look like you from that angle but drift when generating other perspectives.
The quality of the output is bounded by the quality and diversity of the input. This is the one principle the entire workflow hangs on. Everything else follows from it.
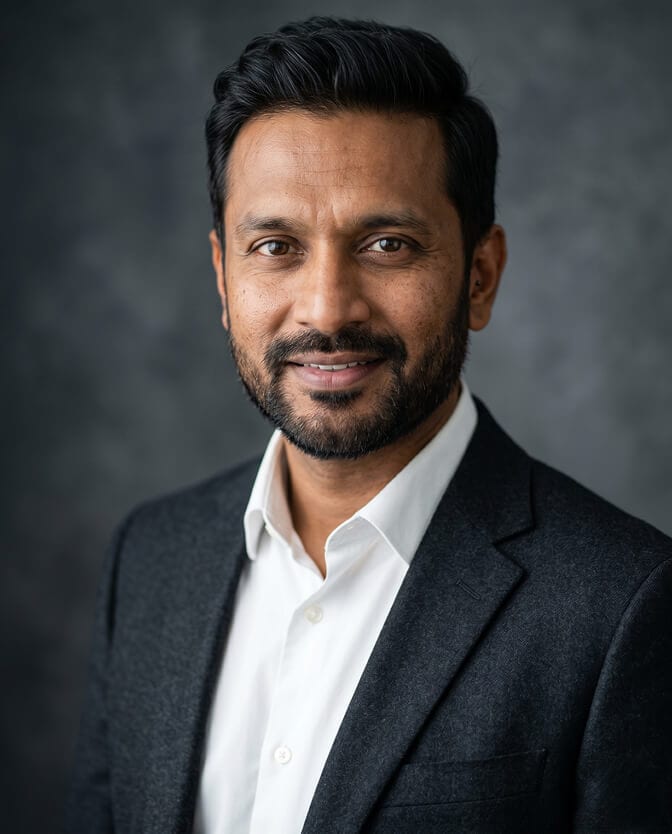
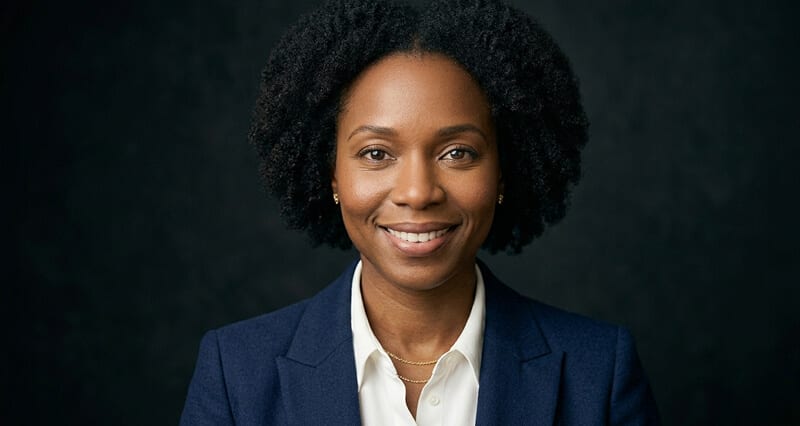
Step Two: Shooting Your Input Photos
This is the part that most guides rush through, and it's where most AI headshot sessions go wrong.
You don't need a photographer. You don't need special equipment. You need your phone, a window, fifteen minutes, and the following checklist.
The light source: Find a window with indirect light. North-facing windows on an overcast day are the gold standard. If you only have south-facing windows, shoot in the morning before direct sun hits the glass, or hang a sheer curtain to diffuse. Turn off all ceiling lights. You want one clean, soft, forward-directional light source. The full breakdown of natural lighting simulation covers why this approach produces the strongest AI headshot results.
Stand facing the window, not with your back to it. Your face should be the brightest element in the frame, not the background.
The camera: Use your phone's rear camera, not the front selfie camera. The rear camera has significantly higher resolution and better optics. To take photos of yourself with the rear camera: set a timer (most phone cameras have a 3-second and 10-second option), prop the phone against something at eye level, and step back to about arm's length. Or ask anyone in your home to hold the phone.
The angles you need. This is the diversity requirement that most people miss. Shoot the following:
Two to three frames straight-on to the camera. Your face centered. Eyes level with the lens.
Two to three frames at a 15 to 20 degree turn to your left. Body slightly angled, face returned toward the camera.
Two to three frames at a 30 to 45 degree turn to your left. The classic three-quarter angle. This is the orientation that produces most professional headshots, so give it good coverage.
Mirror all of these to your right side. Two to three frames at each angle. Your face has natural slight asymmetry and the model needs to see both sides to represent you accurately.
One to two frames with the phone at slightly above eye level (chin slightly down). This is the most flattering camera position and the standard for professional headshot photography.
Total: somewhere between 14 and 22 photos, covering genuine angle diversity. Shoot in batches of three or four per position, varying your expression slightly across each batch (natural smile, composed neutral, slight smile).
The expression variation. Include frames with a genuine smile (think of something specific that makes you happy, not "look happy"), a composed confident neutral (eyes engaged, jaw relaxed, mouth passive), and a slight warm smile. This range gives the model more information about your facial structure than a single held expression.
What to wear. A solid color, fitted blazer or structured top in navy, teal, charcoal, or burgundy. No patterns. No logos. No pure white. Clothing that sits correctly on your shoulders without pulling or bunching. Refer to the wardrobe guide for full detail on what photographs best.
Step Three: Selecting Your Best Input Frames
Don't upload everything you shot. Upload the best frames.
Here's the selection criteria:
Sharp focus on the eyes. Every frame you upload should have crisp, clear eyes. A slightly soft frame where the nose is in focus but the eyes aren't is worse than usable. Check each frame at 100% zoom before deciding.
No significant obstructions. No hair across the face. No glasses glare that obscures the eyes. No shadows that fall across one side of the face heavily. No other people visible in the frame.
Natural expression. Reject any frame where the expression looks performed or strained. The good frames will be ones where you look present and at ease, even if you can't articulate why they look better.
Even lighting on the face. No dramatic shadows from direct sun. No overhead shadows creating dark circles under the eyes. The light should transition gradually from the lit side of your face to the shadow side.
From your 14 to 22 shots, you'll typically end up with 8 to 12 frames that pass all four criteria. That's your upload set.
Step Four: The Upload and Processing
The mechanics of uploading vary slightly by platform but follow the same pattern.
You select your input photos and upload them as a batch. The system trains an identity model on your inputs (this takes somewhere between 10 and 90 minutes depending on the platform and their server load). The model then generates a batch of outputs, typically 40 to 200 images, across multiple backgrounds, lighting styles, and crop variations.
Most quality AI headshot platforms deliver results in under an hour. Some deliver in ten minutes. The processing time isn't something you control.
What you can control is the style selections before processing. Most platforms let you choose background preferences (dark charcoal, off-white, blurred office environment), lighting style, and sometimes outfit choices if the platform includes wardrobe generation. Select options appropriate for your industry: darker backgrounds for finance and law, lighter gradients for tech, warmer tones for healthcare and coaching.
The professional headshots page at Headshot Photo shows the range of output styles available and how they're calibrated to different professional contexts.

Step Five: Evaluating Your Outputs
This is where most people's judgment gets clouded. They receive 100 images and immediately gravitate toward the ones that look most attractive rather than the ones that look most accurate and professional.
Run every output you're considering through these four checks.
The likeness test. Does this look like you today? Not a flattering render of your face, but an accurate one. If any feature looks meaningfully different from your actual face, such as a smoother jawline, different eye spacing, slightly younger skin than you actually have, the output has drifted from identity accuracy. Don't use it regardless of how good it looks. The identity drift problem is the single most common reason AI headshot users end up unhappy with their outputs.
The video call test. Open your phone camera to the front-facing camera. Look at your live face. Then look at the headshot. Would someone moving between them immediately recognize you? If there's any adjustment moment, the headshot is too far from your real appearance.
The quality check. Zoom to 100% on a desktop screen. Is there natural skin texture visible? Are both eyes sharp and present? Do the eyes look like they're actually looking at something, or flat and slightly vacant? Is the clothing rendering clean without artifacts at the collar or lapel? Is the background consistent without halos or edges that don't belong? The authenticity standard covers exactly what to look for here.
The industry fit check. Does the expression, wardrobe, and overall tone match what's appropriate for your professional context? A fully formal suit output when you work in tech may be off-frequency. A very casual expression when you're a senior attorney may not serve you well.
From 100 outputs, most professionals find between 5 and 15 that pass all four checks. Select your primary headshot from that set and keep the others for your library.
If you want to see what passing outputs look like at this quality standard before starting your own session, browse professional AI headshot examples from real users to calibrate your expectations.
Step Six: Deploying Your Headshot Library
Once you have your passing outputs, deploy them strategically.
Primary LinkedIn headshot: The tightest crop with the strongest expression. Face filling approximately 60% of the frame. Eyes in the upper half. This is your most important deployment and the one most people are generating this session for.
Website About page: A slightly wider crop showing head and shoulders with more breathing room. Can have a slightly warmer or more relaxed expression than your LinkedIn photo.
Speaker bios and press photos: High contrast. Clear face at thumbnail size. The one people will use when they pull your photo without asking. Make it the best-performing one at small sizes.
Slack, Zoom, Teams: Your face should be immediately legible as a tiny circle. Use a frame with maximum contrast between face and background.
Email signature: Tight crop, professional expression, minimal background.
Update all of these in the same session. Not LinkedIn today and your website next month. Do it all at once so your visual identity shifts to its current standard simultaneously across every platform.
Step Seven: The Quality Over Time Loop
Here's the sustainable version of the AI headshot workflow.
Every 2 to 3 years, repeat this process: shoot new input photos, generate a new batch, deploy updated outputs across all platforms. This keeps your headshot current with your appearance and your professional positioning.
When something significant changes, your appearance, your role, your industry positioning, don't wait for the 2 to 3 year mark. The process now takes an afternoon. There's no reason to run on a photo that doesn't represent who you currently are.
The professionals who maintain the strongest personal brands treat their headshot as a maintained asset rather than a one-time setup. The AI workflow makes this practical in a way that traditional photography never was.
The Part About Patience
That first session I walked someone through took forty-five minutes. By the end of it, she had twelve input photos that covered all the angles and lighting requirements, and a clear understanding of why each piece of the workflow mattered.
The outputs came back the next morning. She texted me one of them with no message attached.
I looked at it. It was exactly right. Professional. Accurate. The version of her that someone would meet on a video call and immediately recognize.
That's the goal. Not the most flattering version of your face. The version of you that a stranger can trust before they know anything about you.
The workflow takes some care. The input photo stage is genuinely the hardest part. But the whole thing, from first input photo to final outputs deployed across your platforms, is achievable in an afternoon.
Ready to run the workflow? Create your professional headshot with Headshot Photo and apply the step-by-step process from this article to get the results you're looking for.
Frequently Asked Questions
1. What is the AI headshot workflow from selfie to professional photo?
The AI headshot workflow involves five steps: shooting diverse, well-lit input photos covering multiple angles; selecting the sharpest and most natural frames for upload (typically 8 to 12 photos); uploading to an AI headshot generator that trains an identity model on your face; waiting for the processing and output batch (usually 10 to 60 minutes); and then evaluating outputs through a likeness test, video call test, quality check, and industry fit check before selecting and deploying your best results.
2. How many selfies do I need to take for an AI headshot session?
Aim for 14 to 22 input photos covering genuine angle diversity: straight-on, 15 to 20 degree turns left and right, 30 to 45 degree turns left and right, and slight elevation variations. Include frames with different expressions (genuine smile, neutral, slight smile). From this set, you'll select 8 to 12 frames that pass a quality check (sharp eyes, good lighting, natural expression, no obstructions) as your upload set. Quality and diversity matter more than quantity.
3. How long does the AI headshot process take from start to finish?
The total time from first input photo to finished outputs is typically 1 to 3 hours. Shooting and selecting input photos takes 15 to 30 minutes. Upload and processing typically takes 10 to 60 minutes depending on the platform. Evaluating outputs and selecting your best results takes 15 to 30 minutes. The entire process from decision to deployable professional headshot is genuinely achievable in a single afternoon.
4. What lighting setup do I need for AI headshot input photos?
You need one clean, soft, forward-directional light source. A window with indirect light (north-facing, or any window on an overcast day, or a window with sheer curtains diffusing direct sun) works perfectly. Position yourself facing the window with the light source slightly to one side at eye level or slightly above. Turn off all ceiling lights to eliminate competing sources. No photography equipment is required.
5. How do I know if my AI headshot output is good enough to use professionally?
Run every candidate output through four checks. First, the likeness test: does it look like you today, accurately and specifically, not just attractively? Second, the video call test: would someone moving from this photo to a live call with you recognize you immediately? Third, the quality check: is there natural skin texture visible, are both eyes sharp and engaged, is the clothing rendered cleanly without artifacts? Fourth, the industry fit check: does the expression and overall tone match what's professionally appropriate for your field? Only outputs that pass all four should be published.