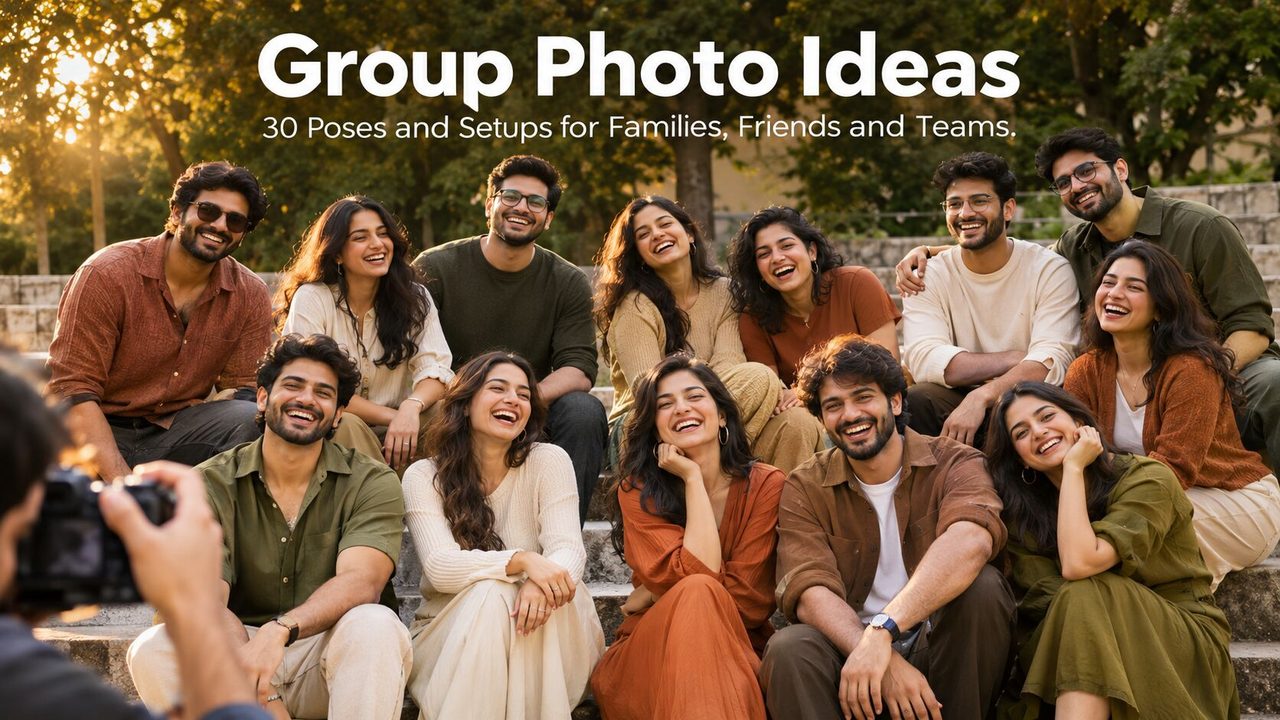
The real reason most group photos look awkward has nothing to do with smiling. It’s the arrangement. Here are 30 setups that work for 3 people or 40, indoors or outside, casual or corporate.
My cousin’s wedding had 47 guests.
After the ceremony, the photographer gathered everyone outside the church for the big group photo. It took 22 minutes. I know because my uncle timed it on his phone and told everyone at the reception.
Twenty-two minutes of “can the tall people move to the back,” “sir, you’re blocking the person behind you,” “everyone look at the camera,” and my personal favorite, “one more, somebody blinked.”
By the time the photographer got the shot, half the group looked exhausted, three people had wandered off, and the natural smiles from earlier had been replaced by that tight-lipped expression people make when they’re trying very hard to look happy.
A month later, my cousin showed me the final photo. It looked fine. Technically correct. Everyone visible, no one cut off, decent exposure.
But it didn’t look like her wedding felt. It looked like a school photo with better clothes.
The thing is, it didn’t have to go that way. The photographer was skilled. The light was beautiful. The group was willing. What was missing was a plan. A specific arrangement for a group that size, in that setting, with that energy.
That’s what this guide is for. Thirty specific setups, organized by group size and type, so you walk into any group photo situation knowing exactly how to arrange people before the first “everyone squeeze in.”
Small Groups (3 to 5 People)
Small groups are deceptively tricky. With fewer people, every gap, every height difference, and every awkward arm placement becomes more visible. The good news: once you know the shapes that work, small groups are the fastest to shoot.
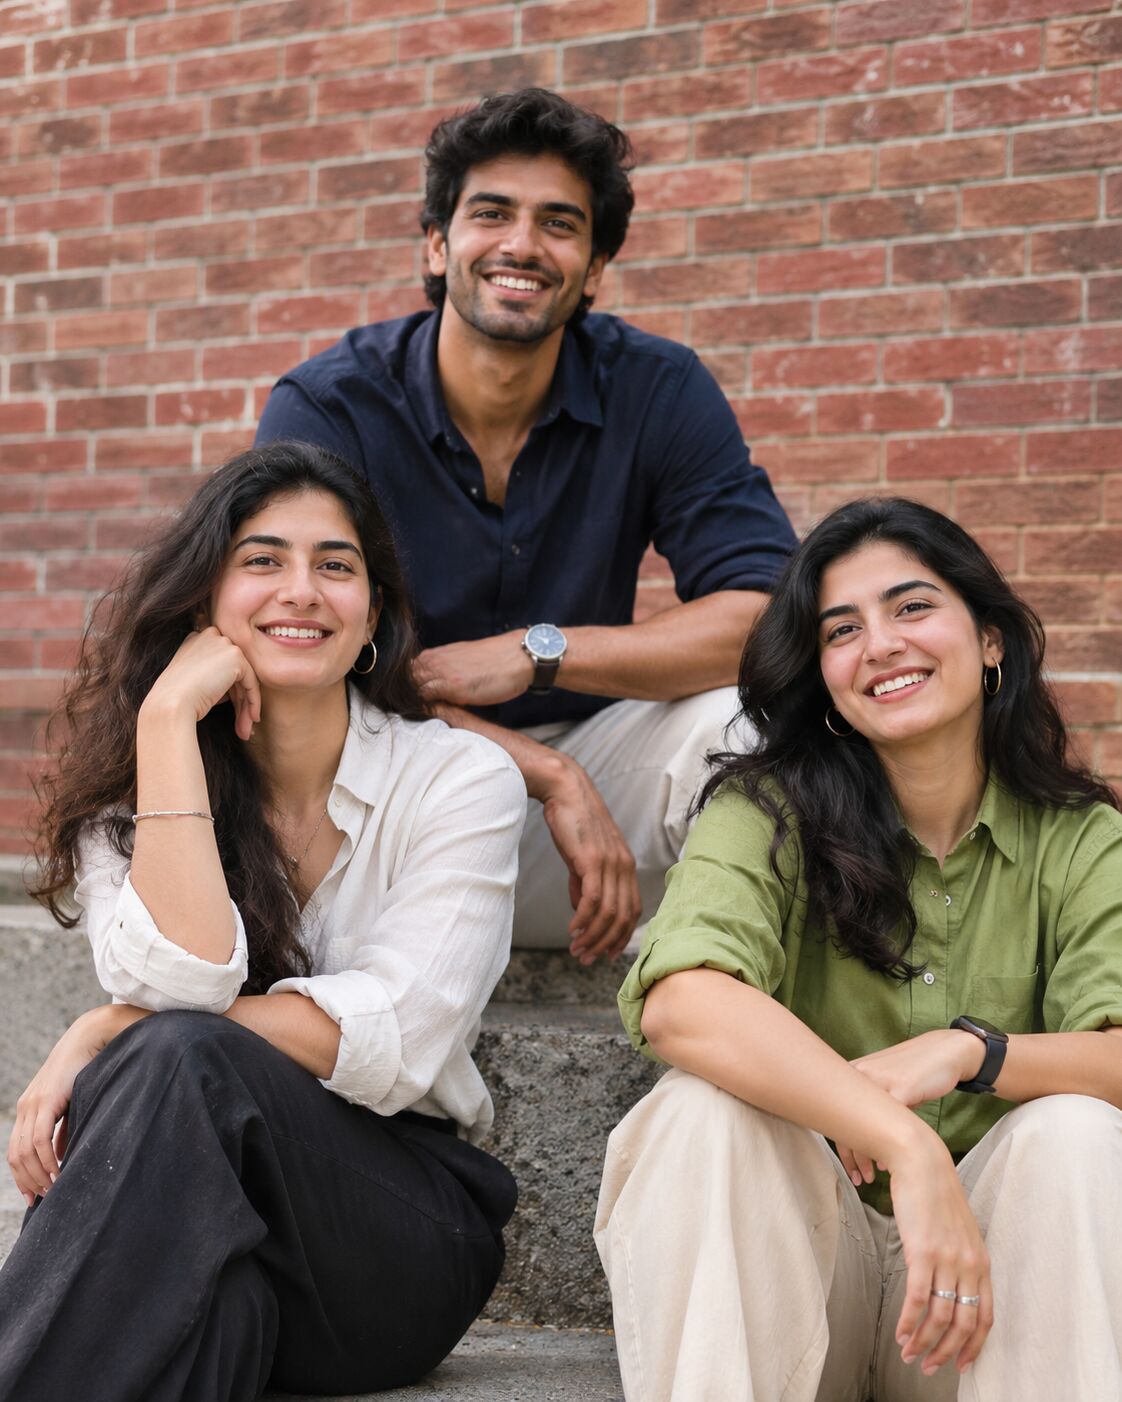
1. The Triangle
Three people. One person stands slightly behind and between the other two. It creates a natural pyramid shape that fills the frame without leaving dead space on either side.
This works for everything: three friends, a small family, three co-founders for a website bio. The person in the back doesn’t need to be the tallest, just slightly higher up (a step, a curb, standing on tiptoes works fine).
2. The Shoulder Lean
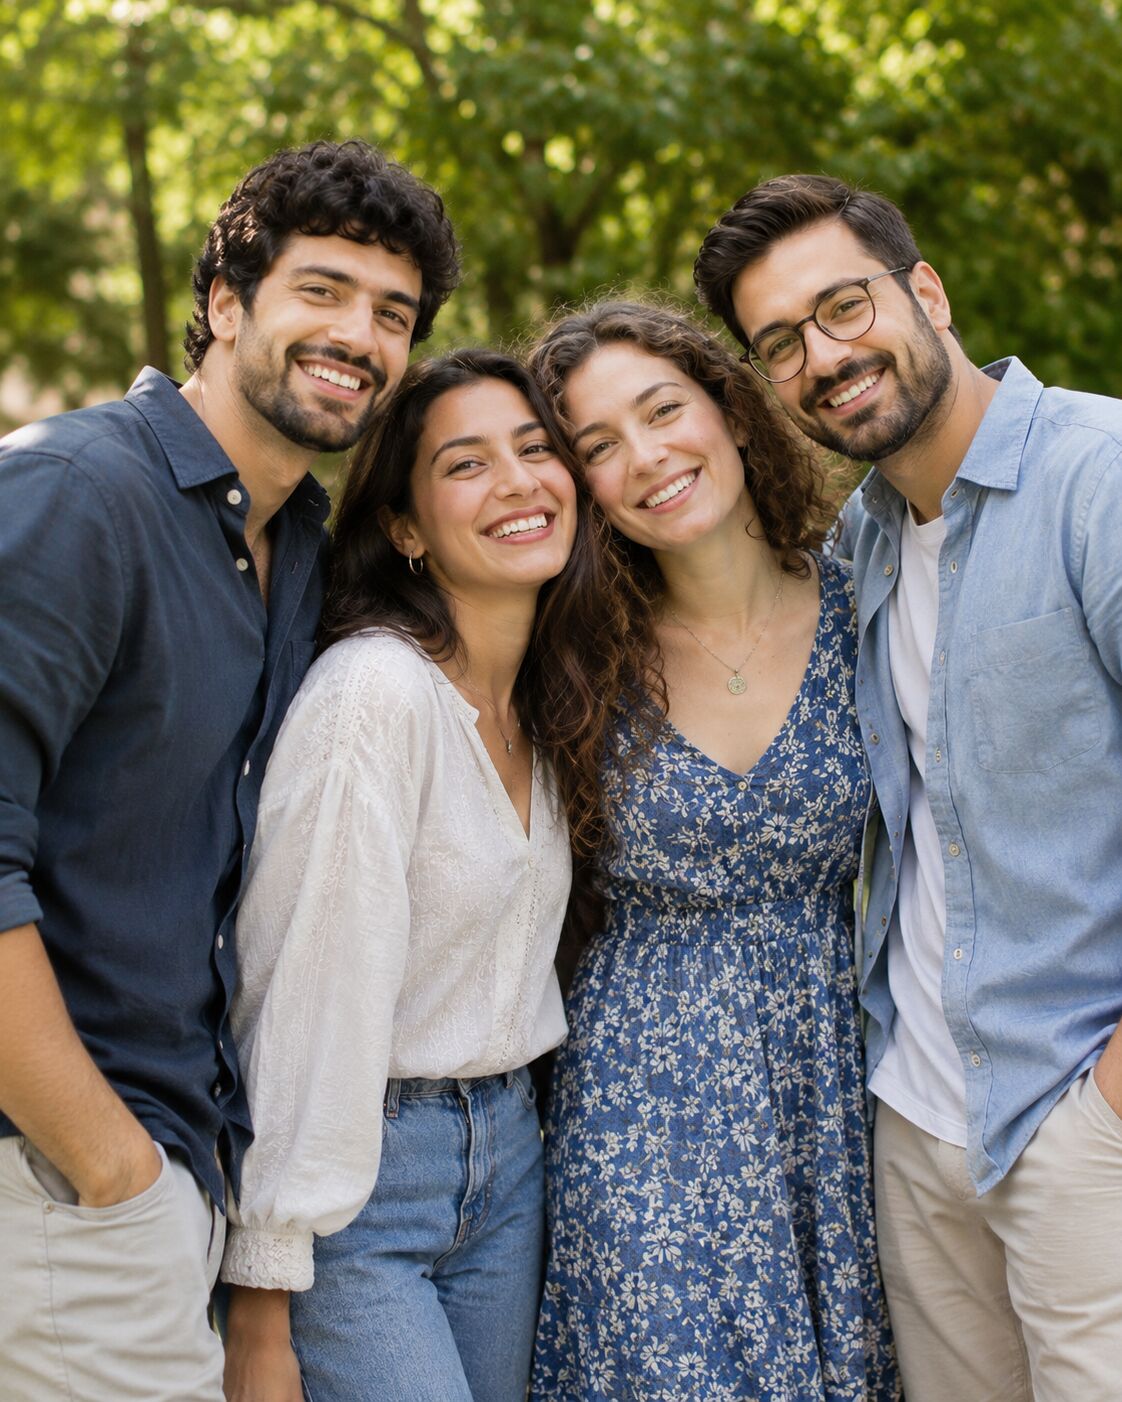
Three to four people standing close, with each person angled slightly toward the center. The two in the middle lean their shoulders together while the outer people lean in. It looks effortless and connected.
This is the go-to for friend groups and siblings. The physical contact makes the photo feel warm rather than posed.
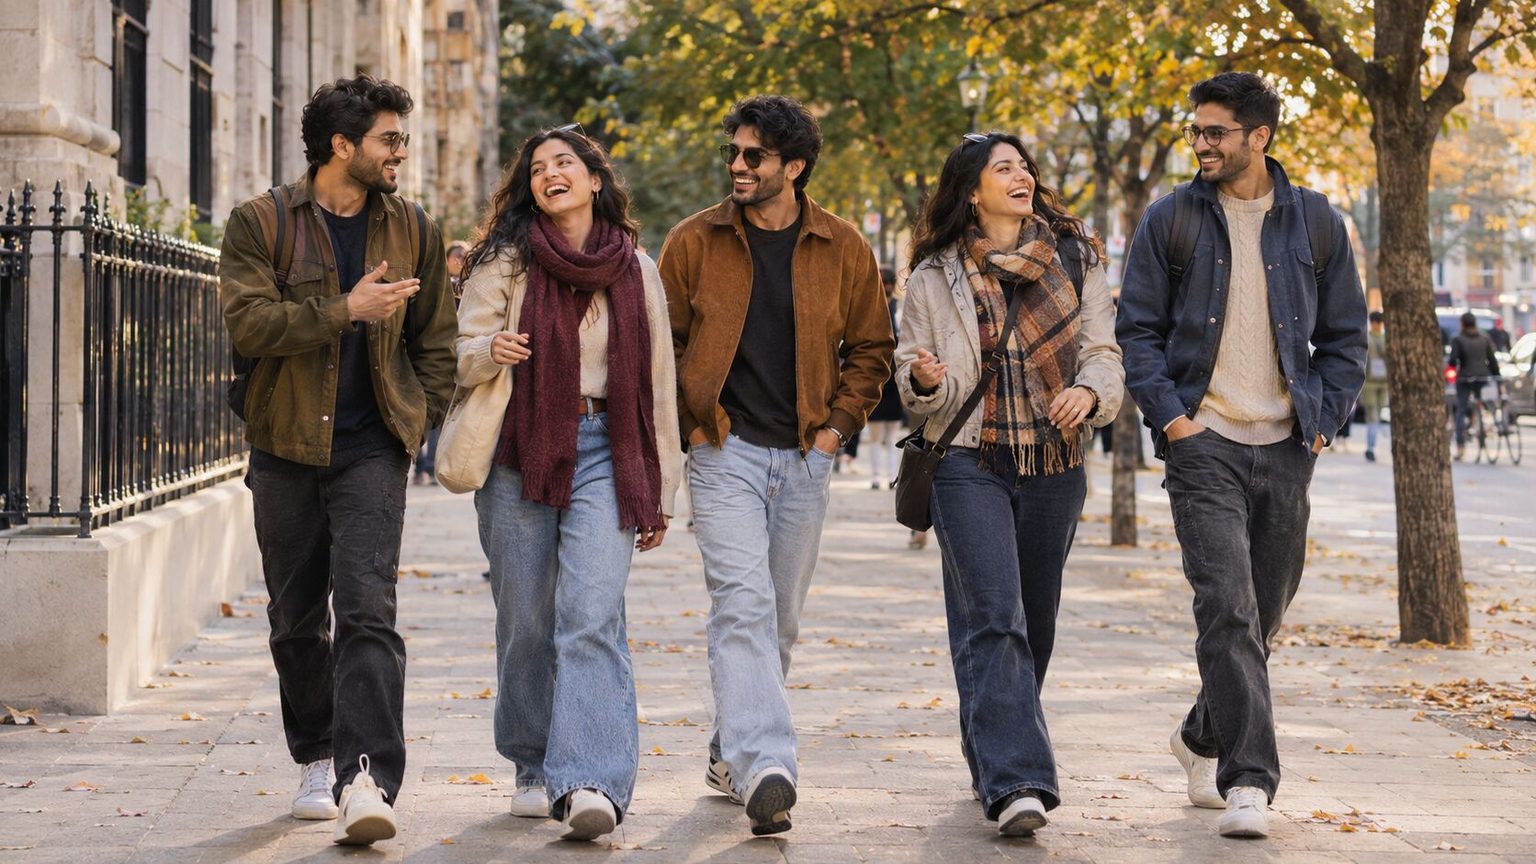
3. The Walking Shot
Three to five people walking toward the camera, slightly staggered, mid-conversation. The photographer shoots from about 20 feet ahead, slightly low angle.
The trick: tell people to actually talk to each other. Real conversation creates real expressions. If they’re silently fake-walking, it looks like a bad stock photo.
4. The Seated Cluster
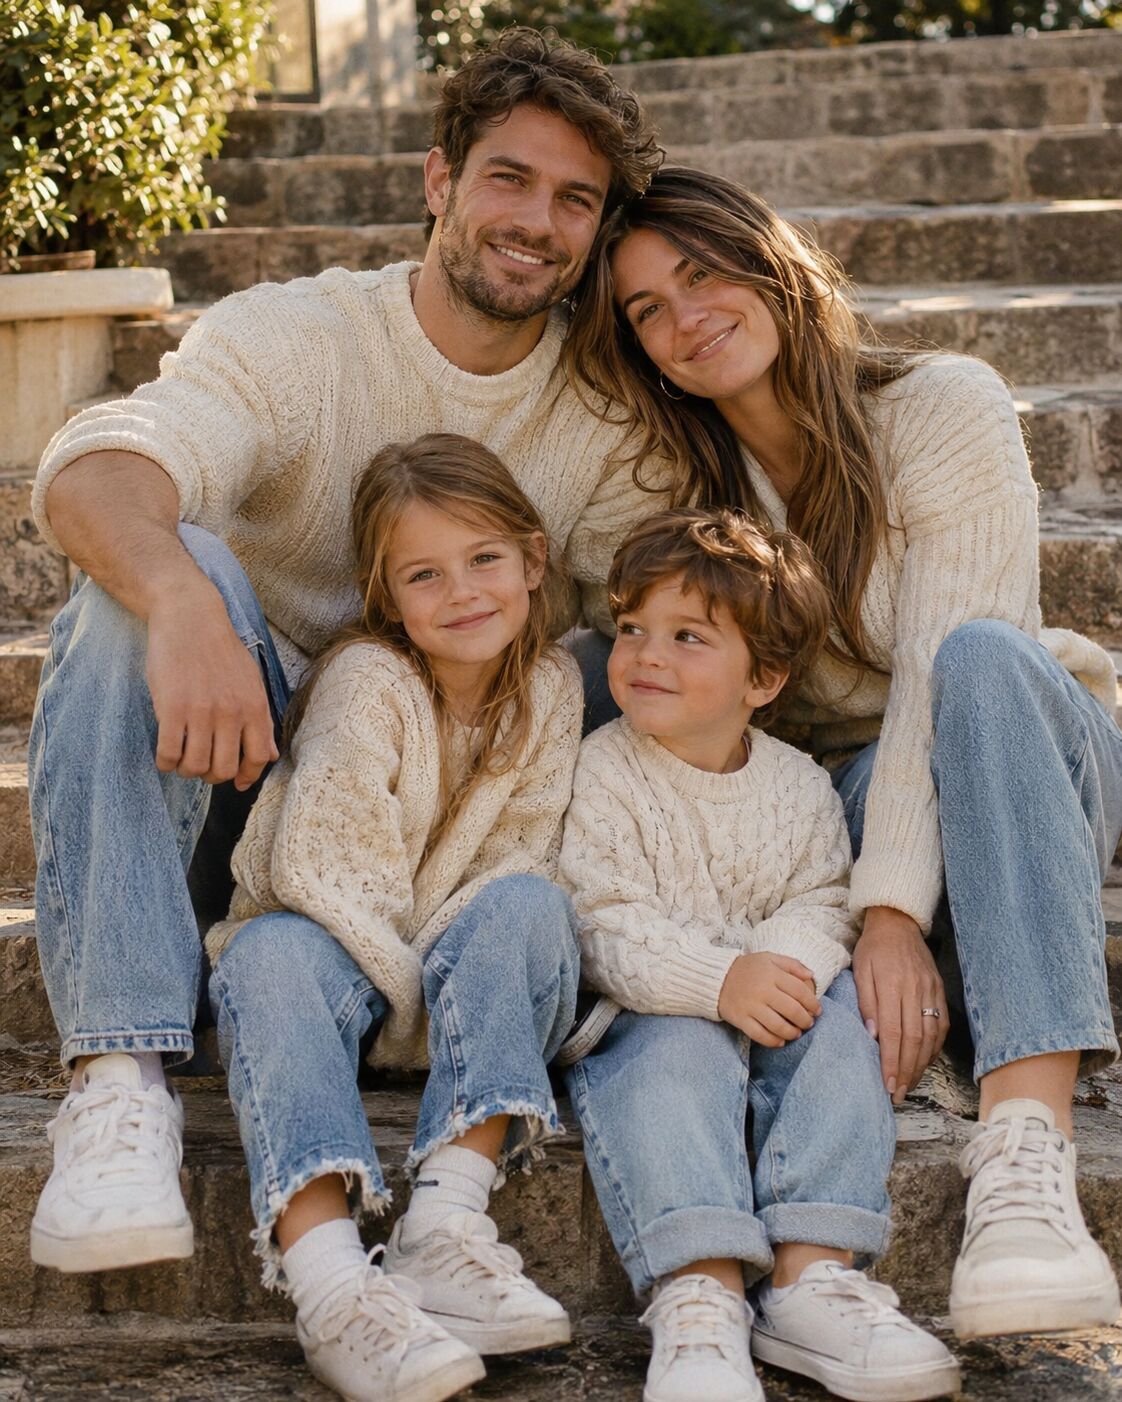
Everyone sits. On a bench, on stairs, on the ground, on a low wall. With three to five people, seated positions eliminate height differences entirely and create a compact, intimate composition.
Best for families with young children, since kids are naturally closer to adult height when everyone is on the ground.
5. The Stacked Close-Up
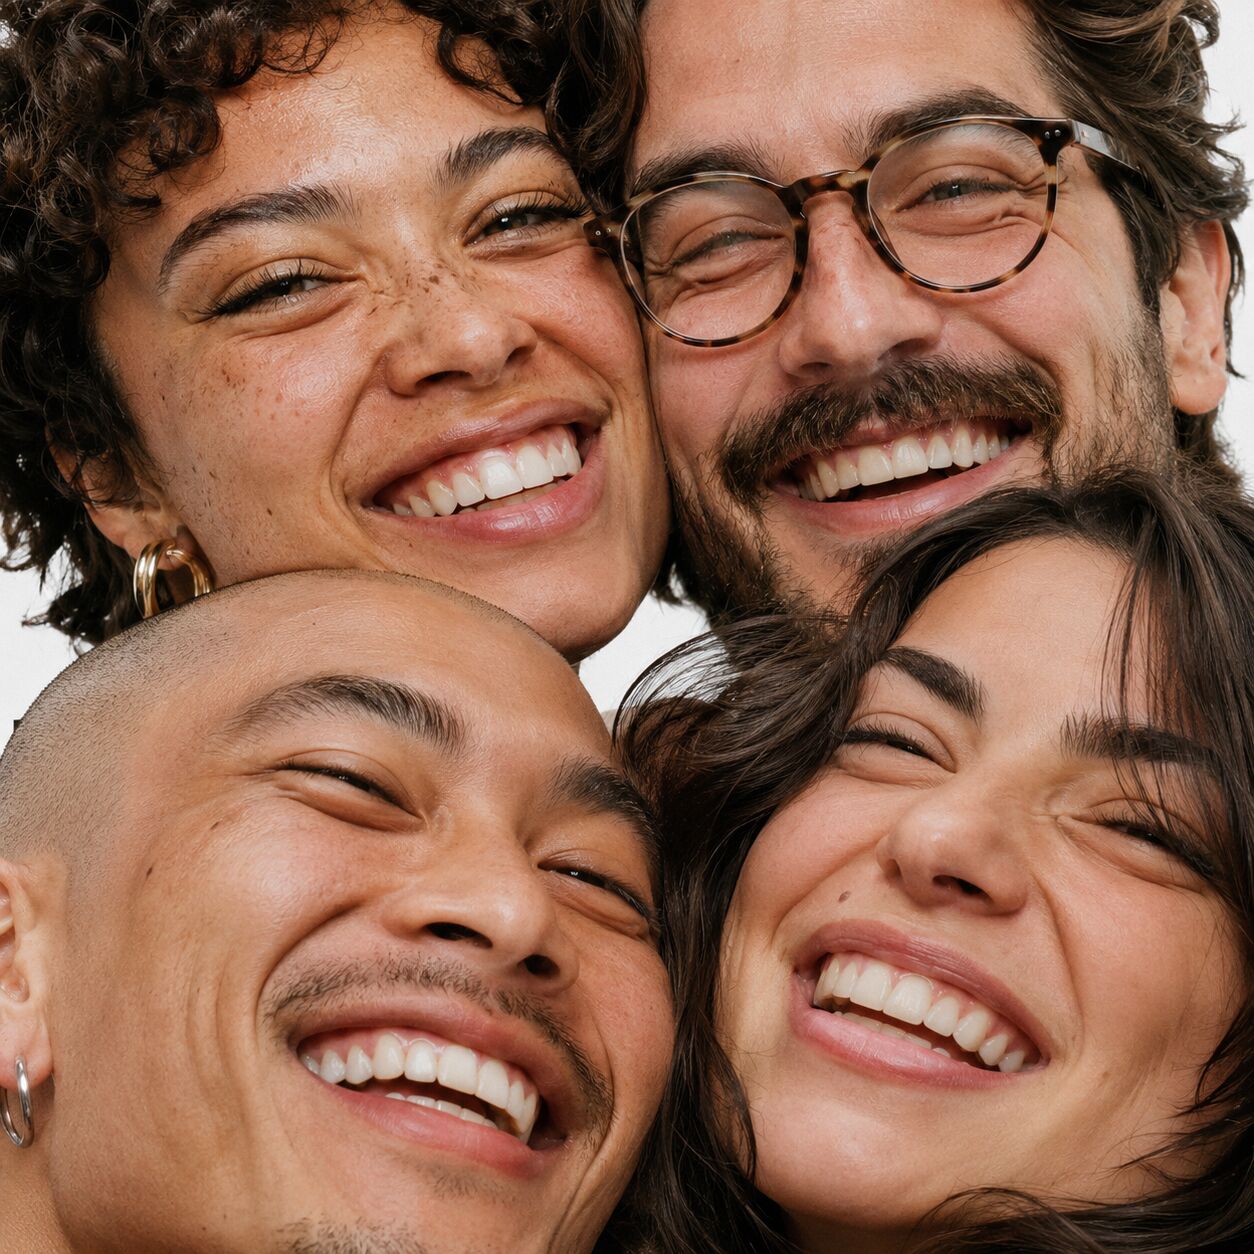
Heads only. Everyone brings their face close together, cheek to cheek, and the photographer shoots tight. No bodies, no background, just faces filling the frame.
This is surprisingly powerful for small professional teams. Three co-founders, four partners, a small creative studio. It says “we’re tight” without trying.
6. The Back-to-Back
Two pairs or a trio standing back to back, arms crossed or hands in pockets. It looks confident, editorial, slightly playful.
Best for friend groups, sibling sets, and small business teams that want a photo with personality rather than corporate formality.
Medium Groups (6 to 15 People)
This is where most group photos go wrong. Too many people for a single row, not enough for the staircase formations that work with large crowds. The key is creating depth: multiple rows, varied heights, and intentional spacing.
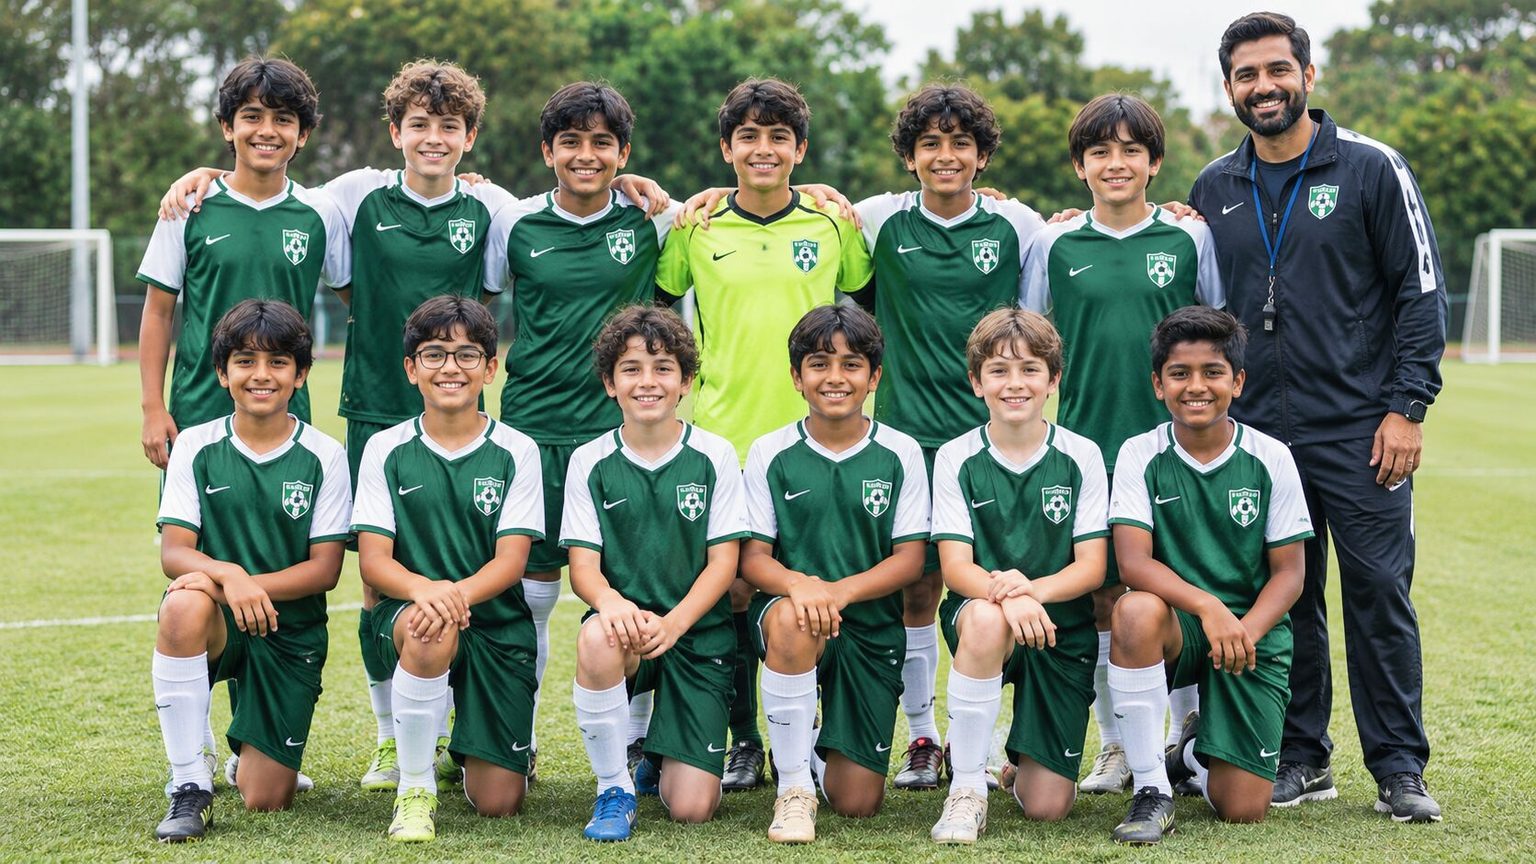
7. The Two-Row Classic
Front row seated or kneeling, back row standing. The simplest medium-group arrangement and still one of the most effective. The gap between rows should be small enough that the back row’s faces are visible between the front row’s heads.
8. The Staircase
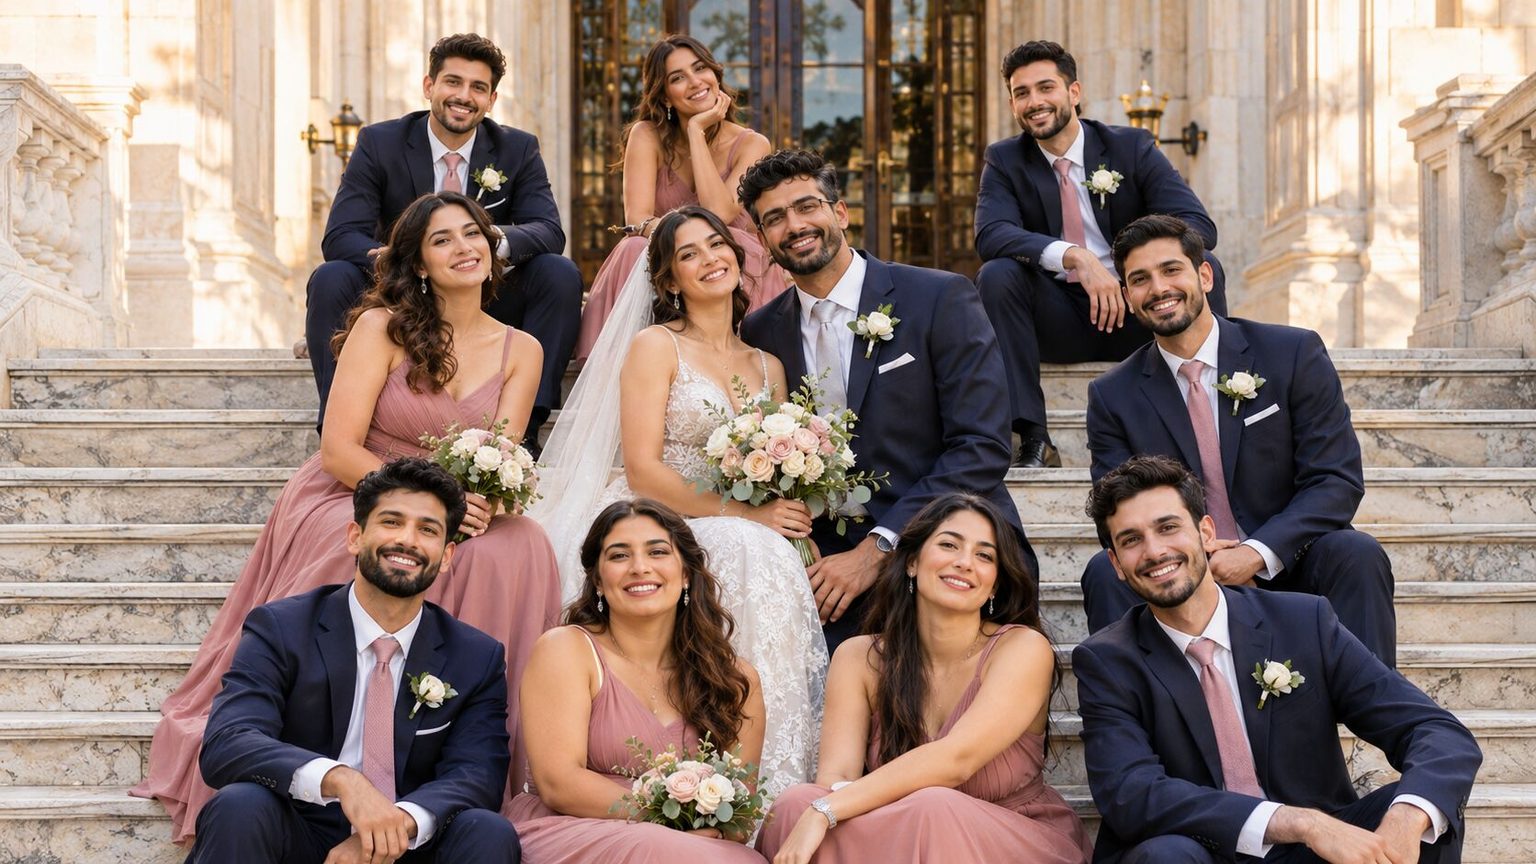
If you have actual stairs, use them. Spread the group across three to four steps, with the tallest people at the top and the shortest at the bottom. The natural height variation of stairs does all the arrangement work for you.
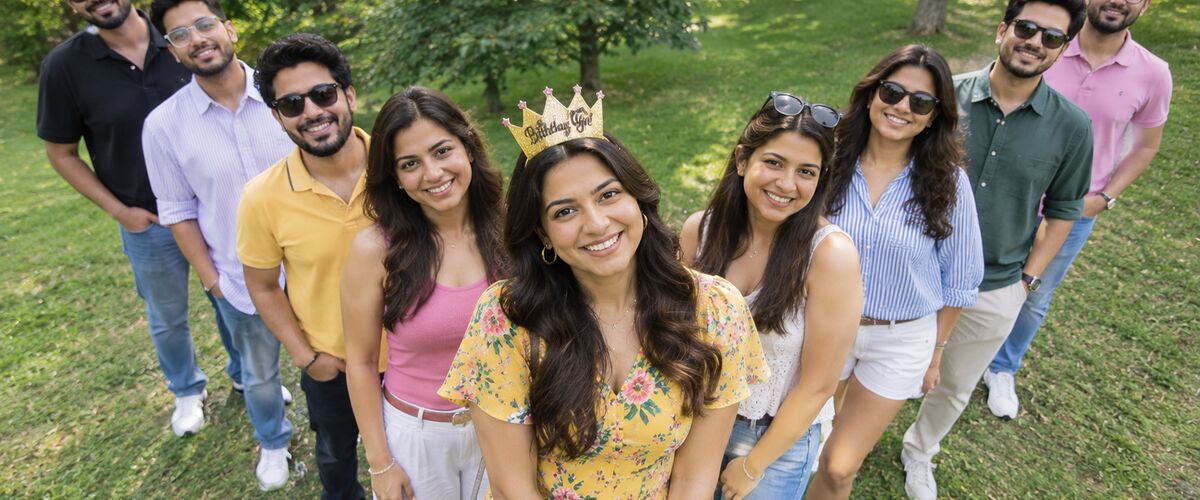
9. The V Formation
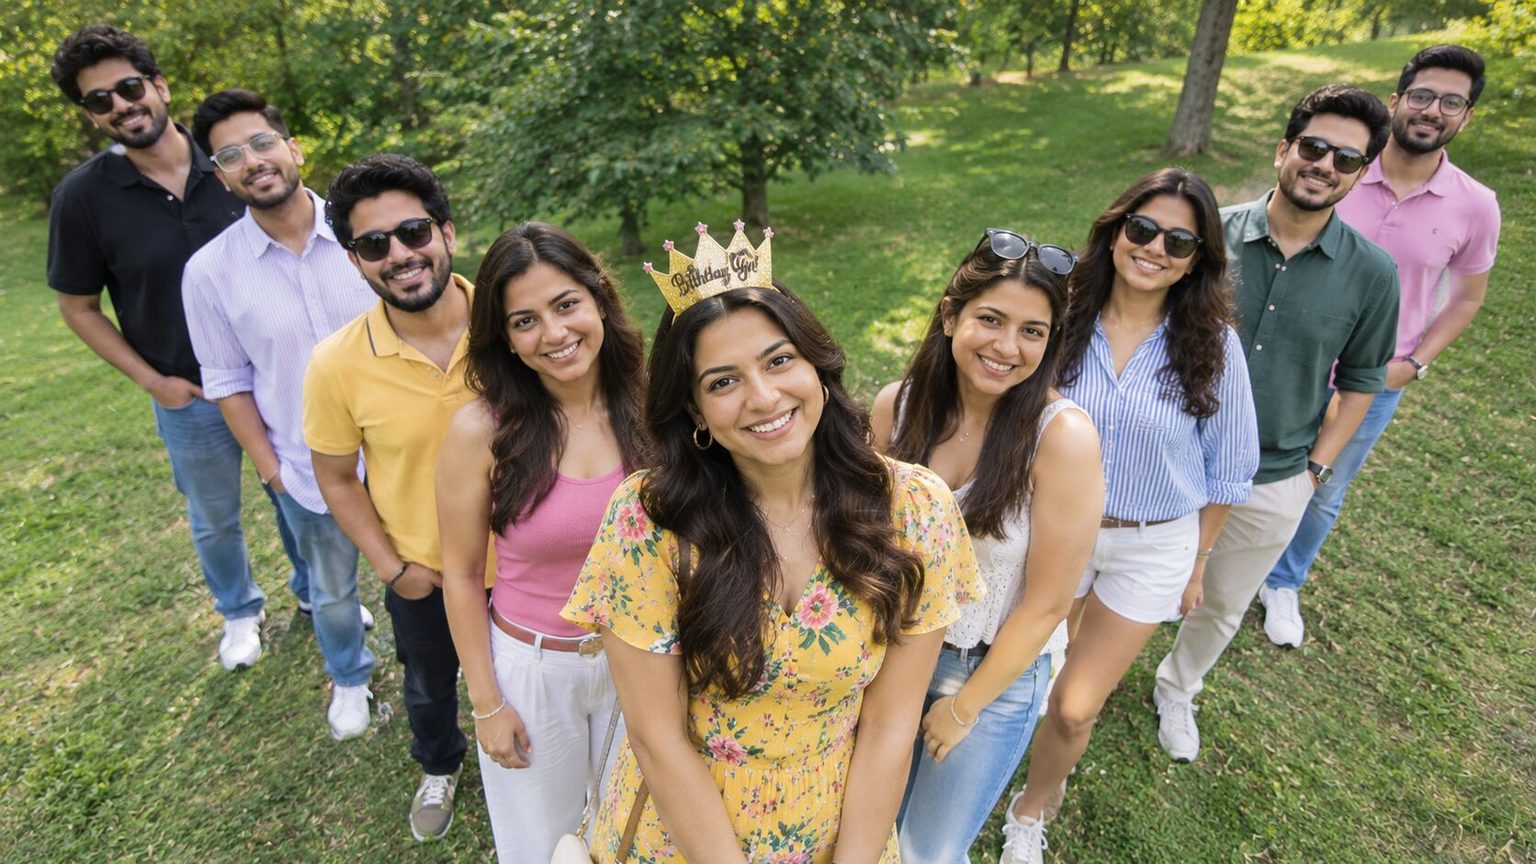
One person at the front center, everyone else fanning out behind them in a V shape. The front person is typically the guest of honor: the birthday person, the bride, the team lead.
This works especially well outdoors when shot from a slightly raised angle, because the V shape draws the eye to the center.
10. The Bench Stack
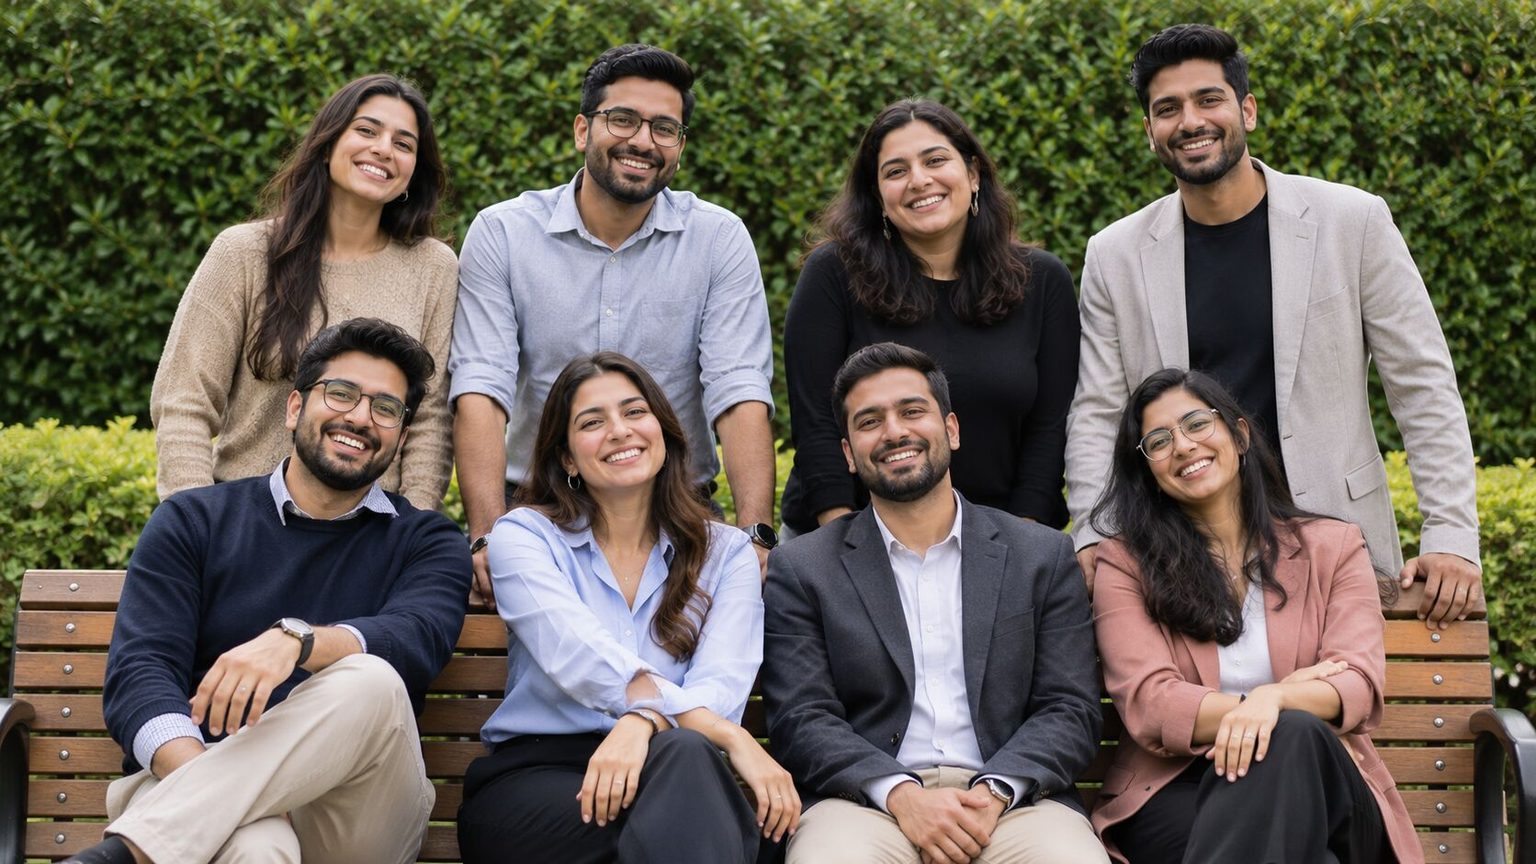
Find a long bench or low wall. Three to four people sit. The rest stand behind, staggered between the seated people’s heads. It creates a layered, organized look without the stiffness of formal rows.
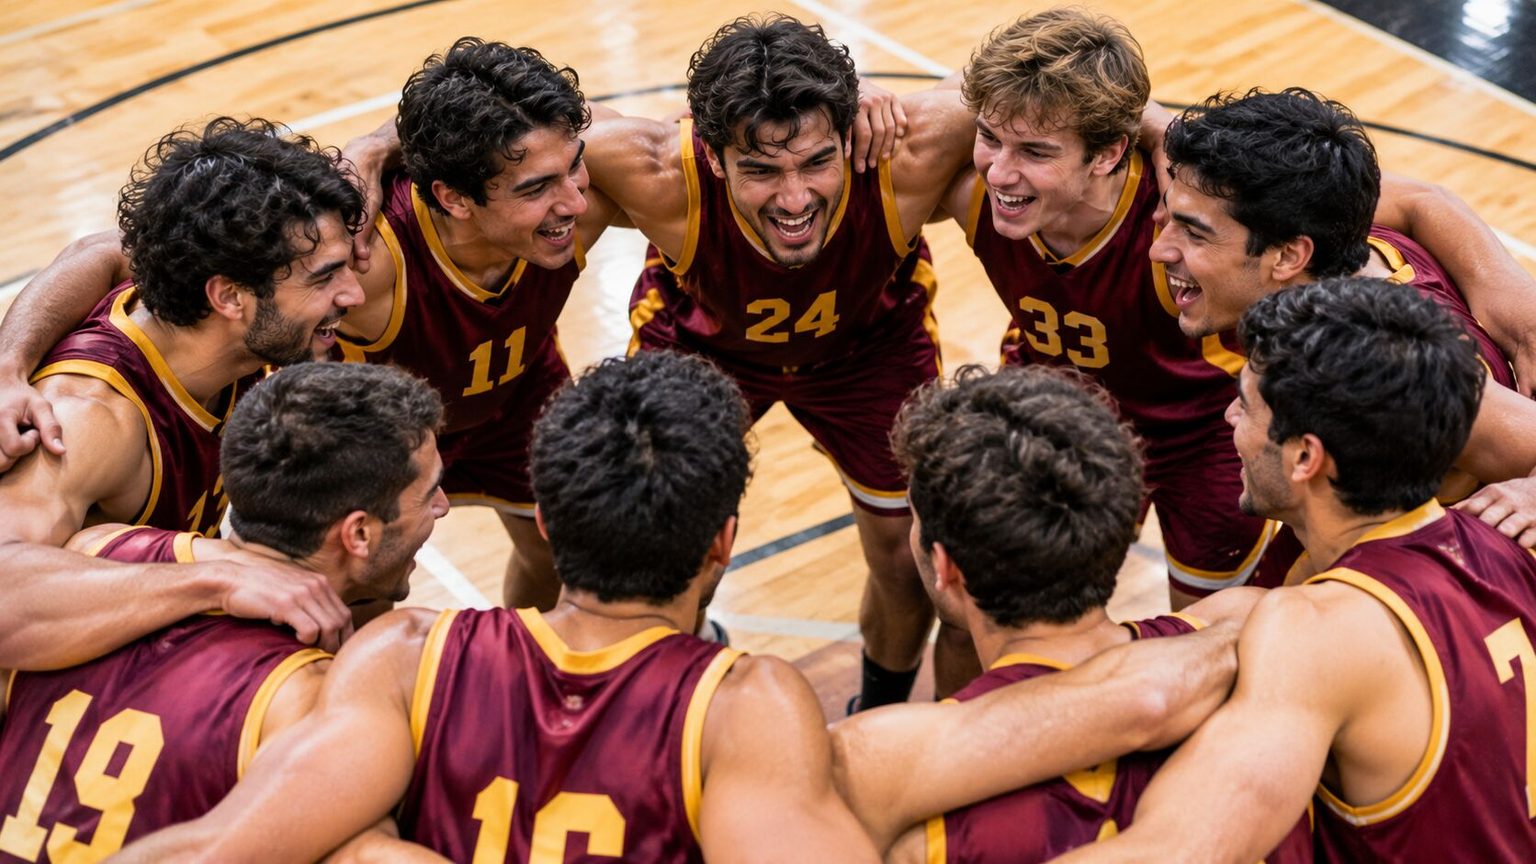
11. The Huddle
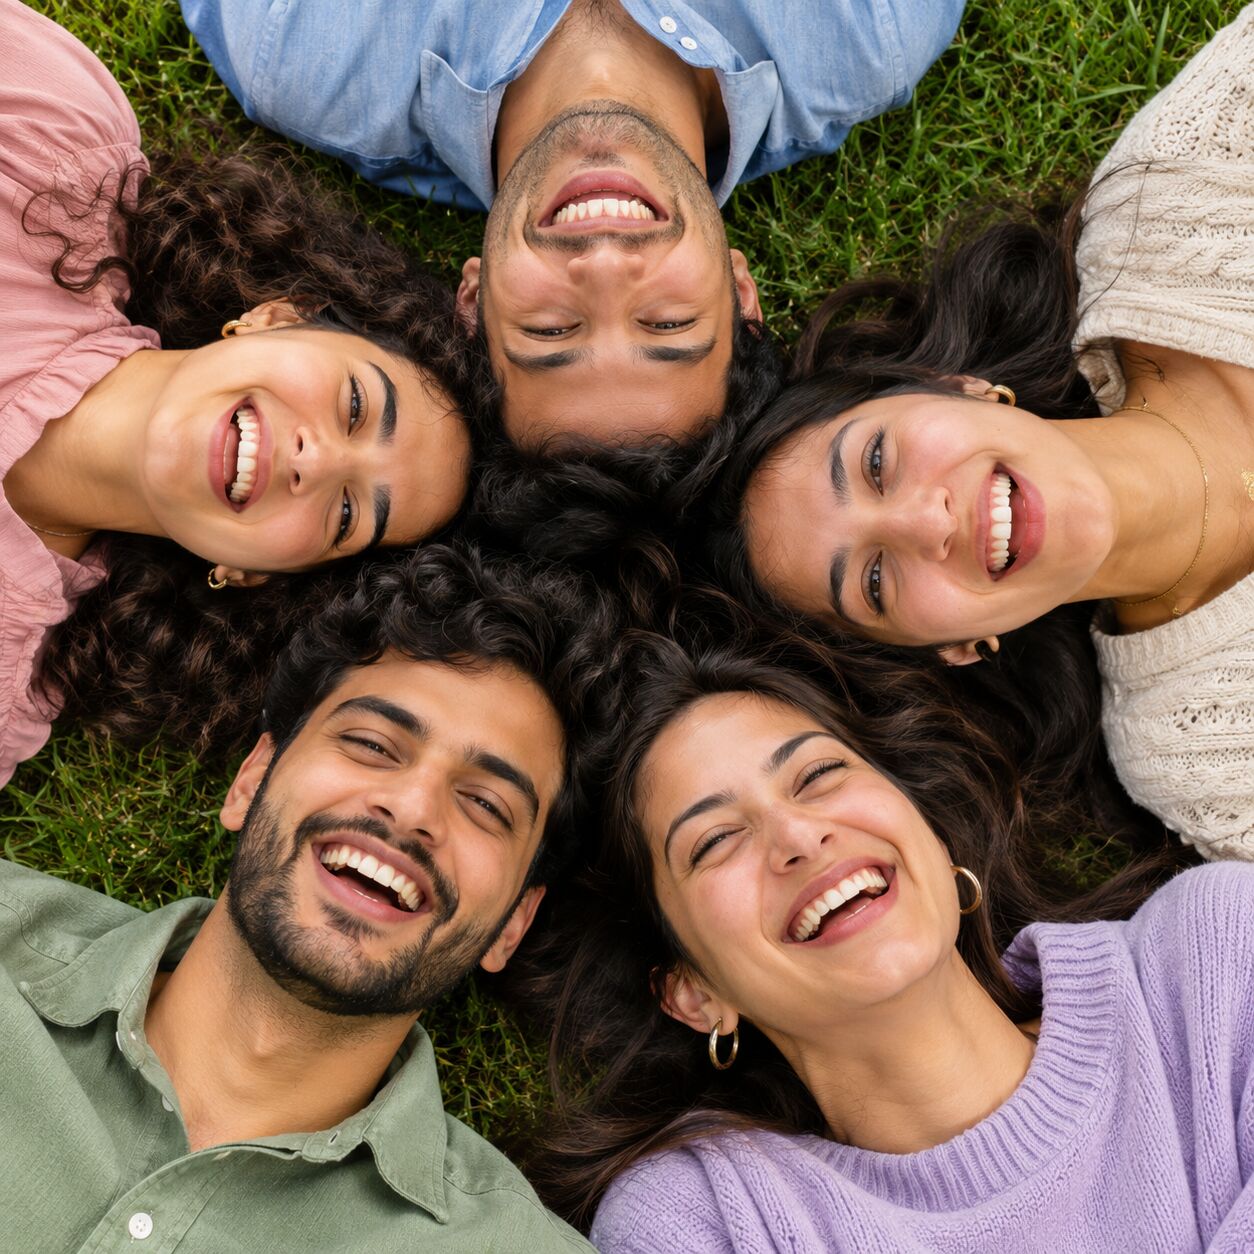
Everyone gathers in a tight circle, arms around shoulders, leaning in. The photographer shoots from outside the circle or slightly above. It looks spontaneous and connected, even when it’s completely staged.
Best for sports teams, friend groups, and any situation where the vibe is “we’re in this together.”
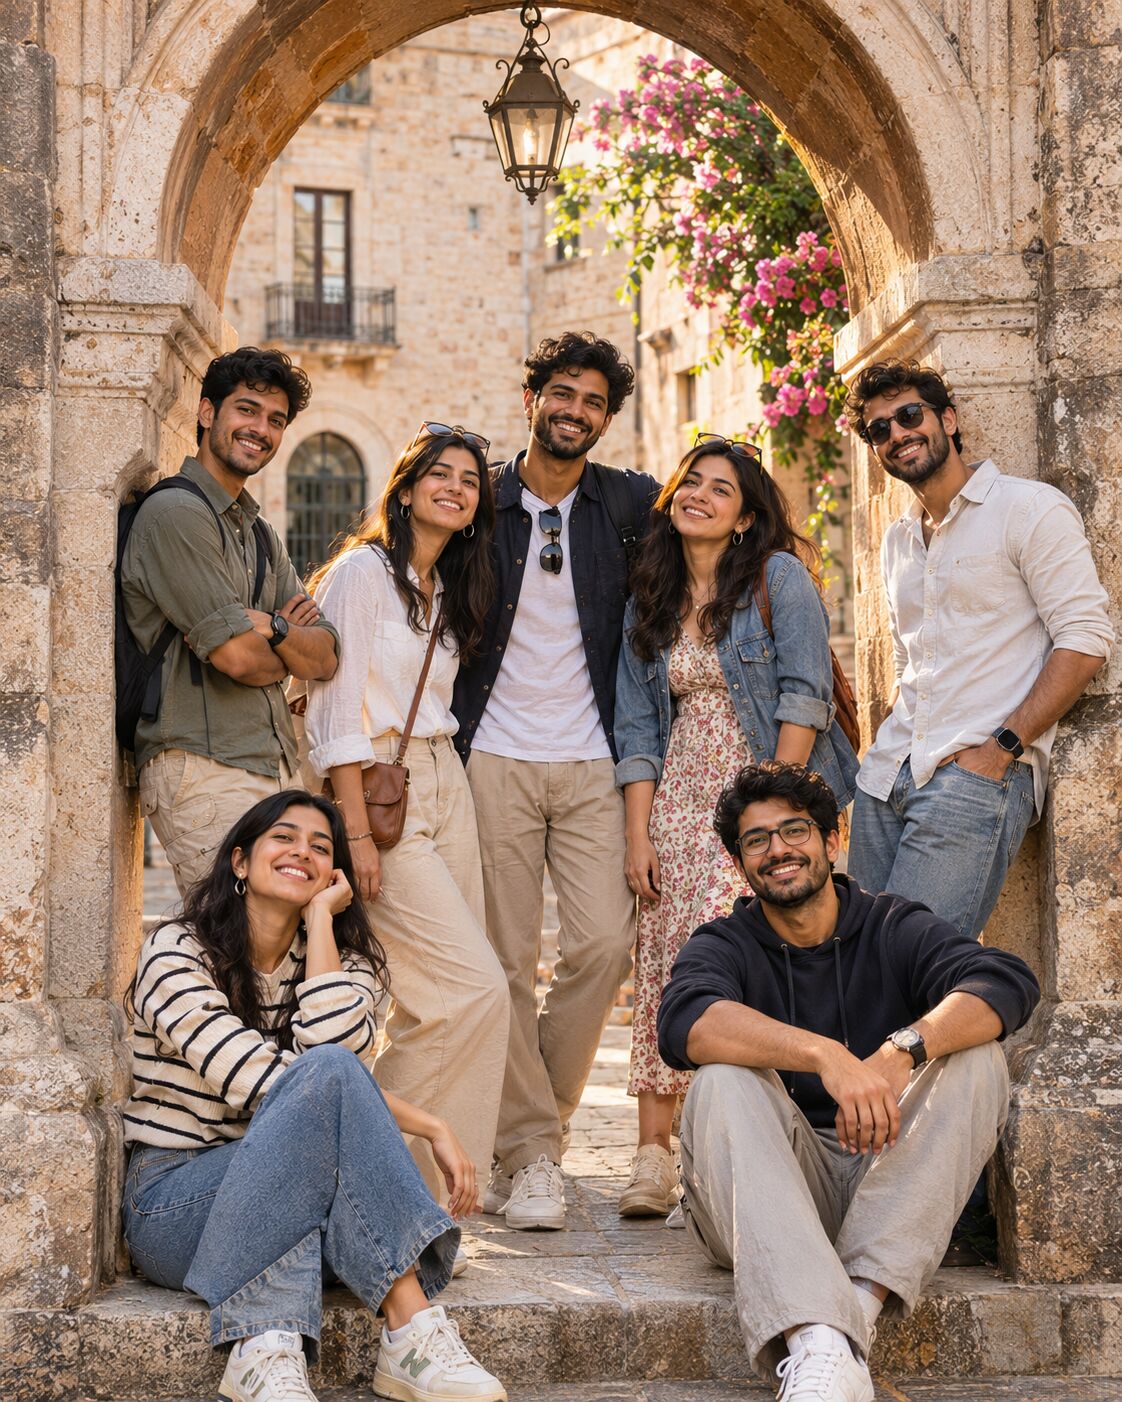
12. The Window Frame
A doorway, window, archway, or any architectural frame. Place two to three people inside the frame and the rest leaning in from both sides. The frame gives the photo structure and visual interest that a plain background can’t.
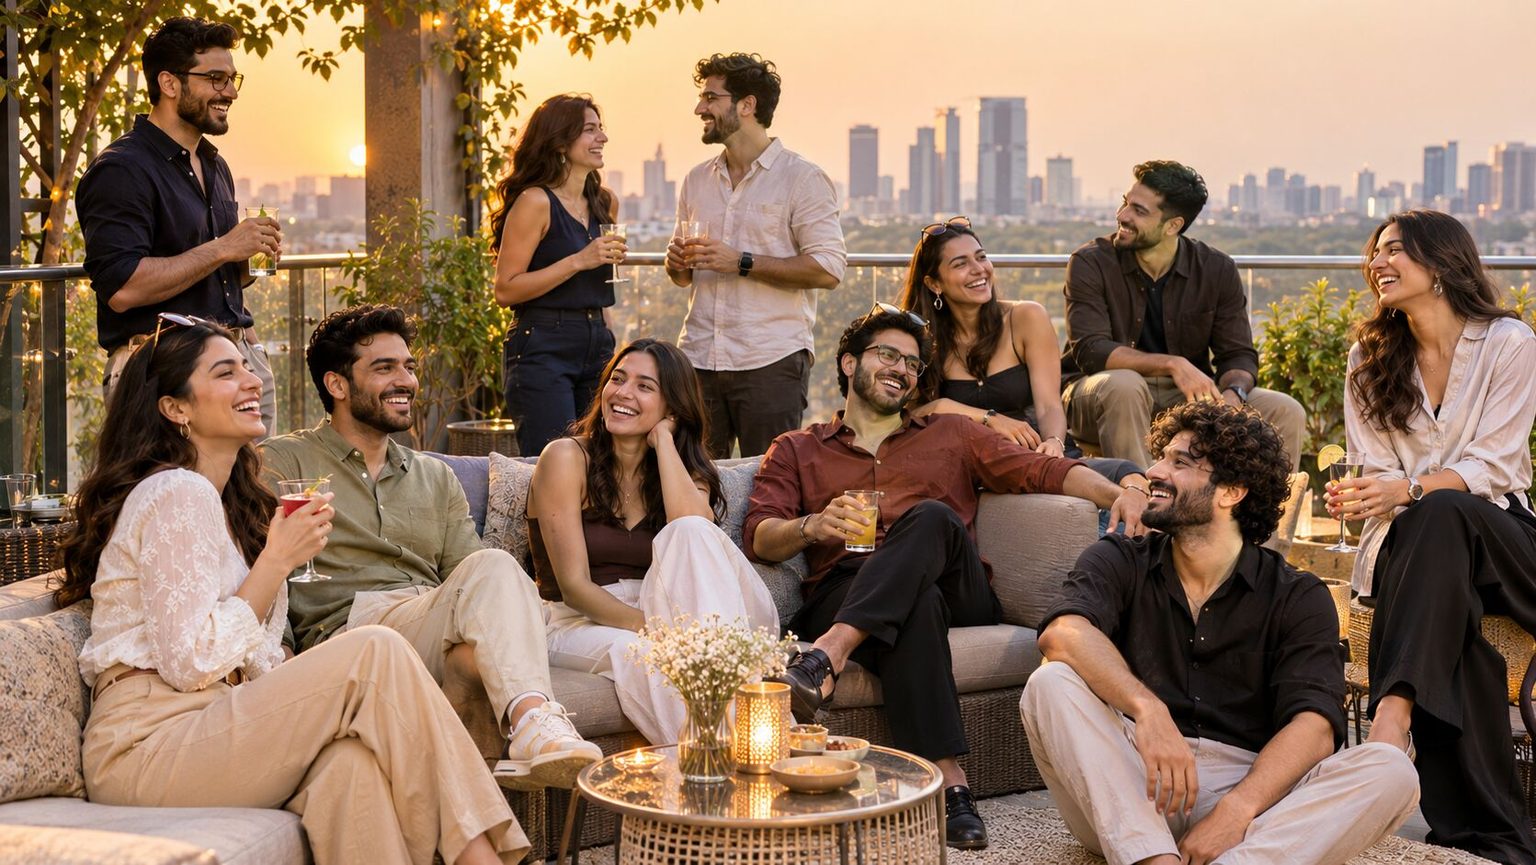
13. The Scattered Casual
Instead of rows, spread the group out in a loose cluster. Some people sitting on the ground, some on a wall, some standing, some leaning. The photographer backs up to get everyone in frame.
This is the “lifestyle” look. It works best in photogenic settings (parks, rooftops, interesting architecture) and with groups that want to look relaxed rather than formal.
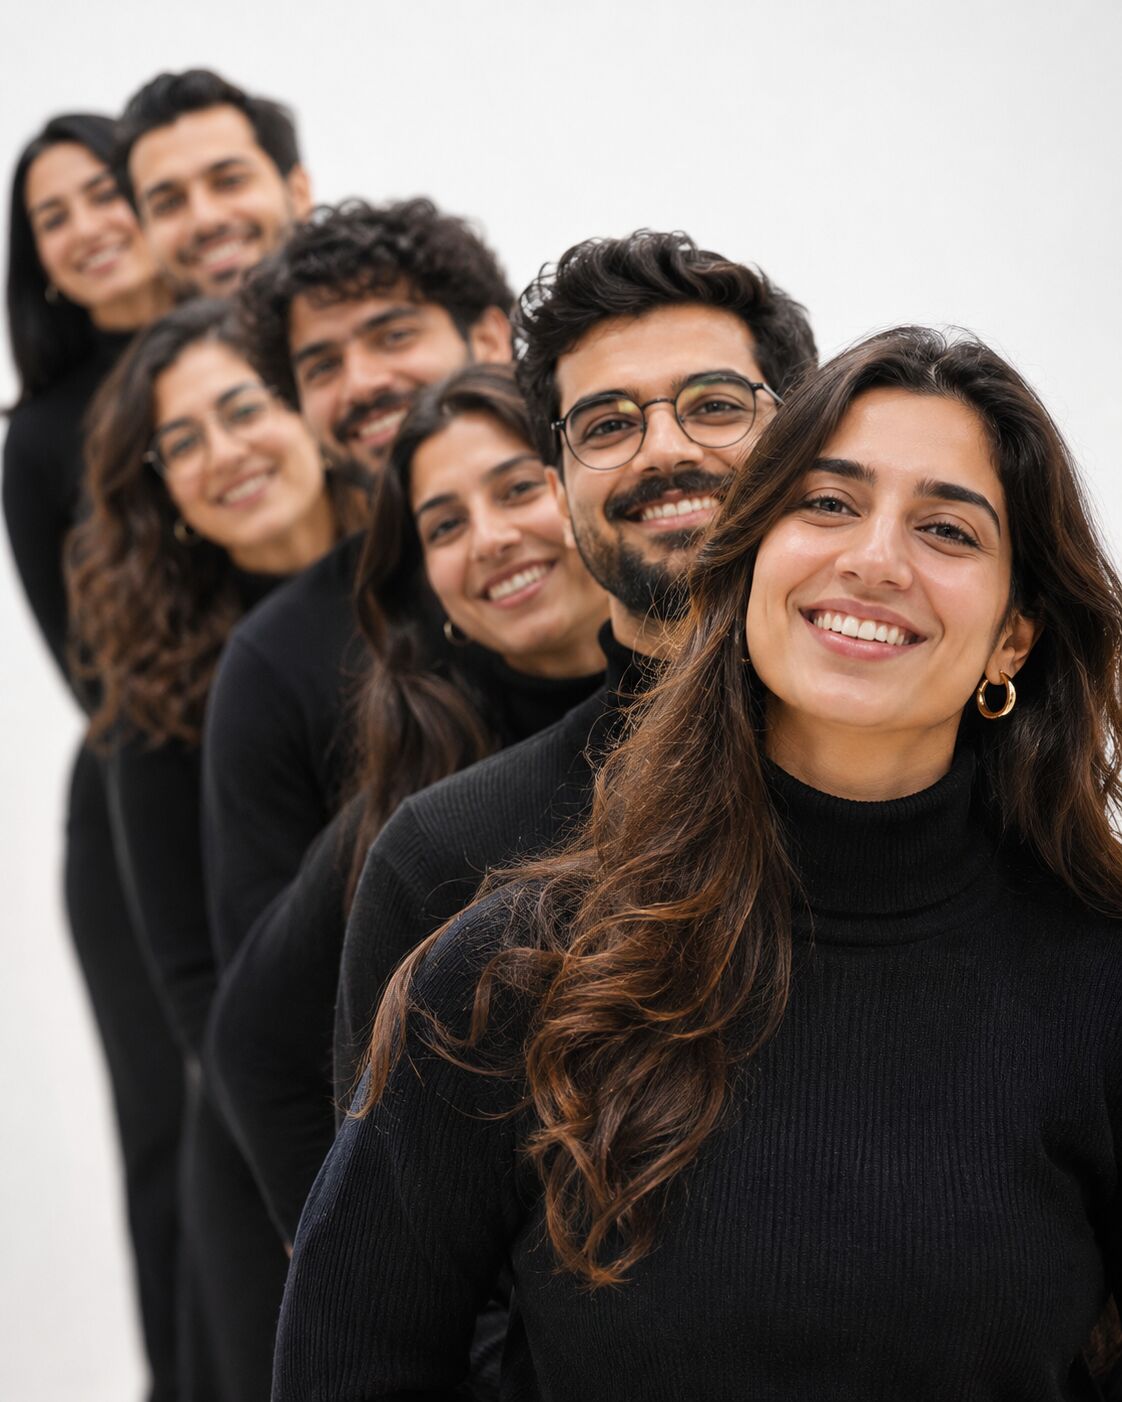
14. The Single File Depth Shot
Everyone lines up in a single file, one behind the other, with each person peeking out slightly to one side. Shot with a wide aperture so the person in front is sharp and everyone behind gradually softens.
Visually striking for friend groups and creative teams. It works best with 6 to 8 people.
Large Groups (15+ People)
Large groups require three things: elevation, structure, and speed. The longer people stand around waiting, the worse the final photo looks. Have the arrangement planned before anyone arrives.
15. The Bleacher Setup
Three to four rows on risers, bleachers, or tiered seating. Front row seated on the ground, second row on chairs or a low step, third row standing, fourth row standing on a step or platform behind them.
This is the standard for group photos over 20 people because it works. Everyone is visible. The rows create clean sight lines. The photographer can shoot from straight on without anyone being hidden.

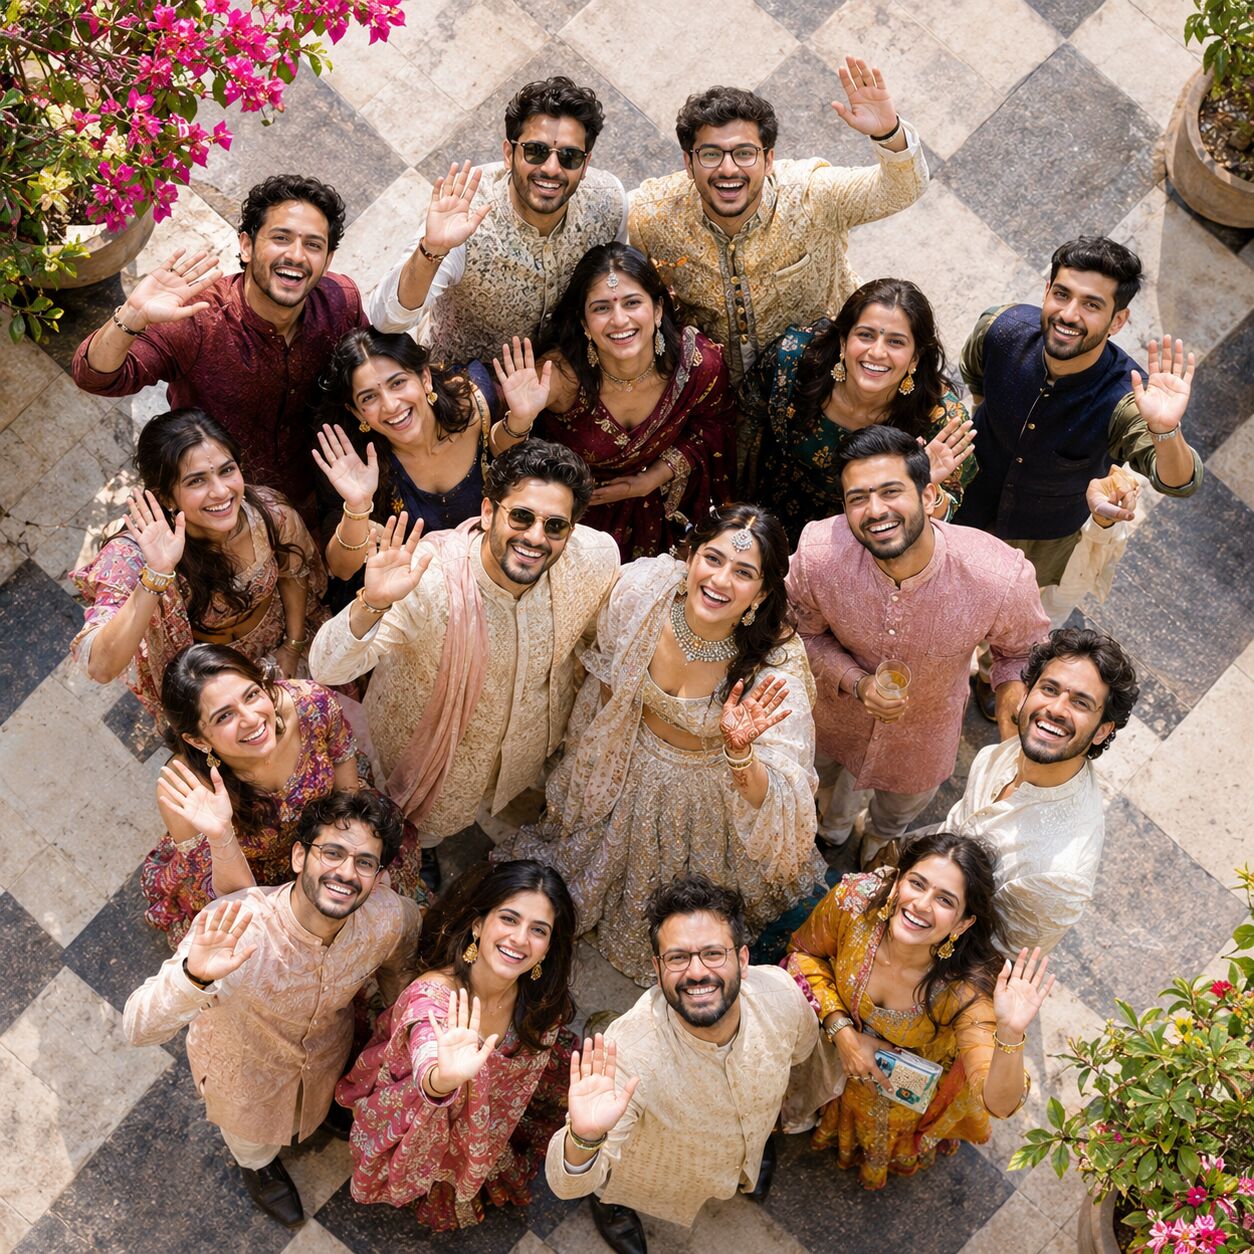
16. The Balcony Overhead
Group on the ground, photographer above. A second-floor balcony, a staircase landing, a parking garage level, even a sturdy ladder. Shooting down on a large group eliminates the depth problem entirely because everyone is on the same plane.
For the group: have people stand close together and look up. For the photographer: use a wide-angle lens (24mm to 35mm) and make sure no one is at the extreme edges where distortion kicks in.
17. The Natural Terrain Spread
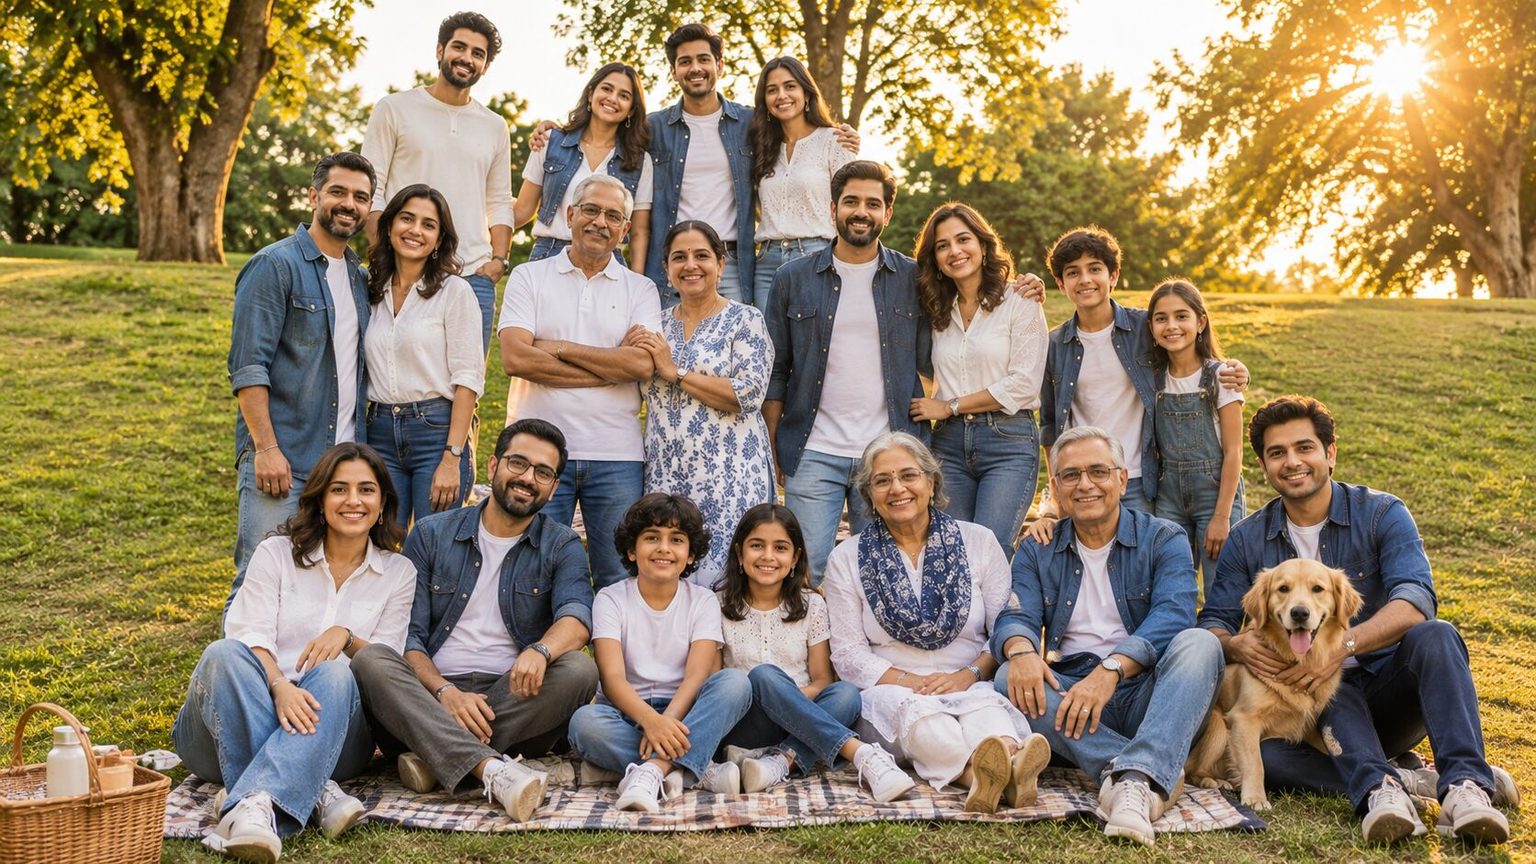
A hillside, a sloped lawn, or a beach. Spread the group across the natural incline so the people higher up the slope are visible behind those lower down. Nature does the tiering for you.
This is the best setup for large casual groups: family reunions, friend trips, outdoor celebrations. The setting becomes part of the photo.
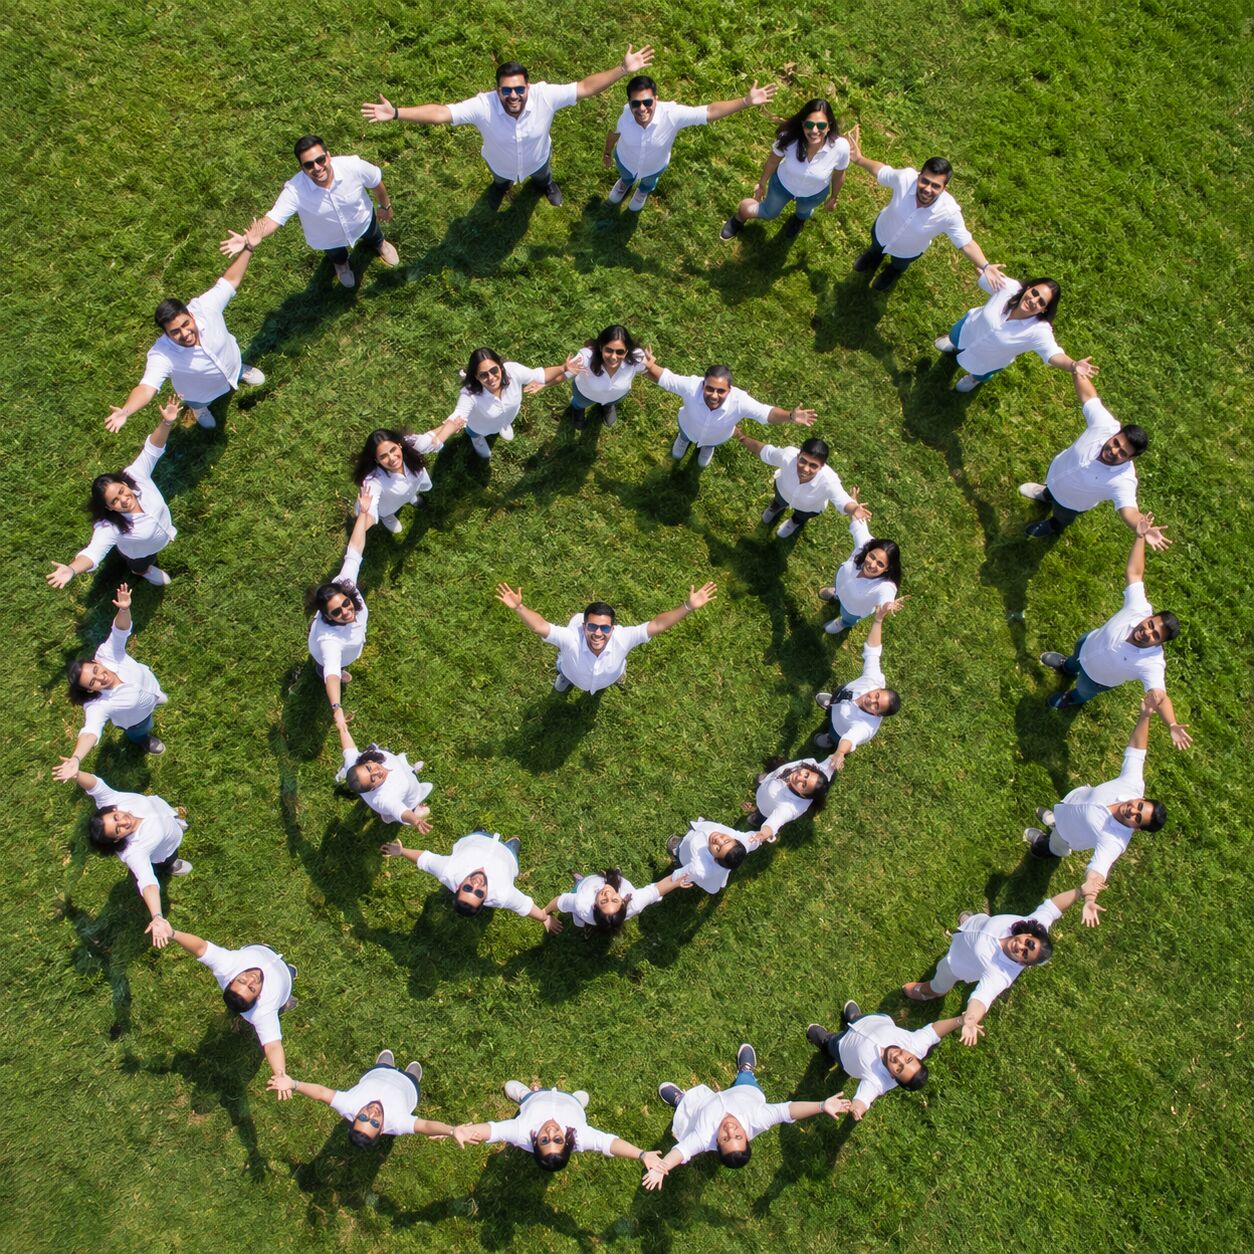
18. The Spiral
For 20 to 40 people, arrange the group in a loose spiral shape when shot from above. It’s visually unusual, fills the frame completely, and gives the photo a sense of movement that rows can’t match.
Requires drone or high vantage point. Worth it for the visual impact.
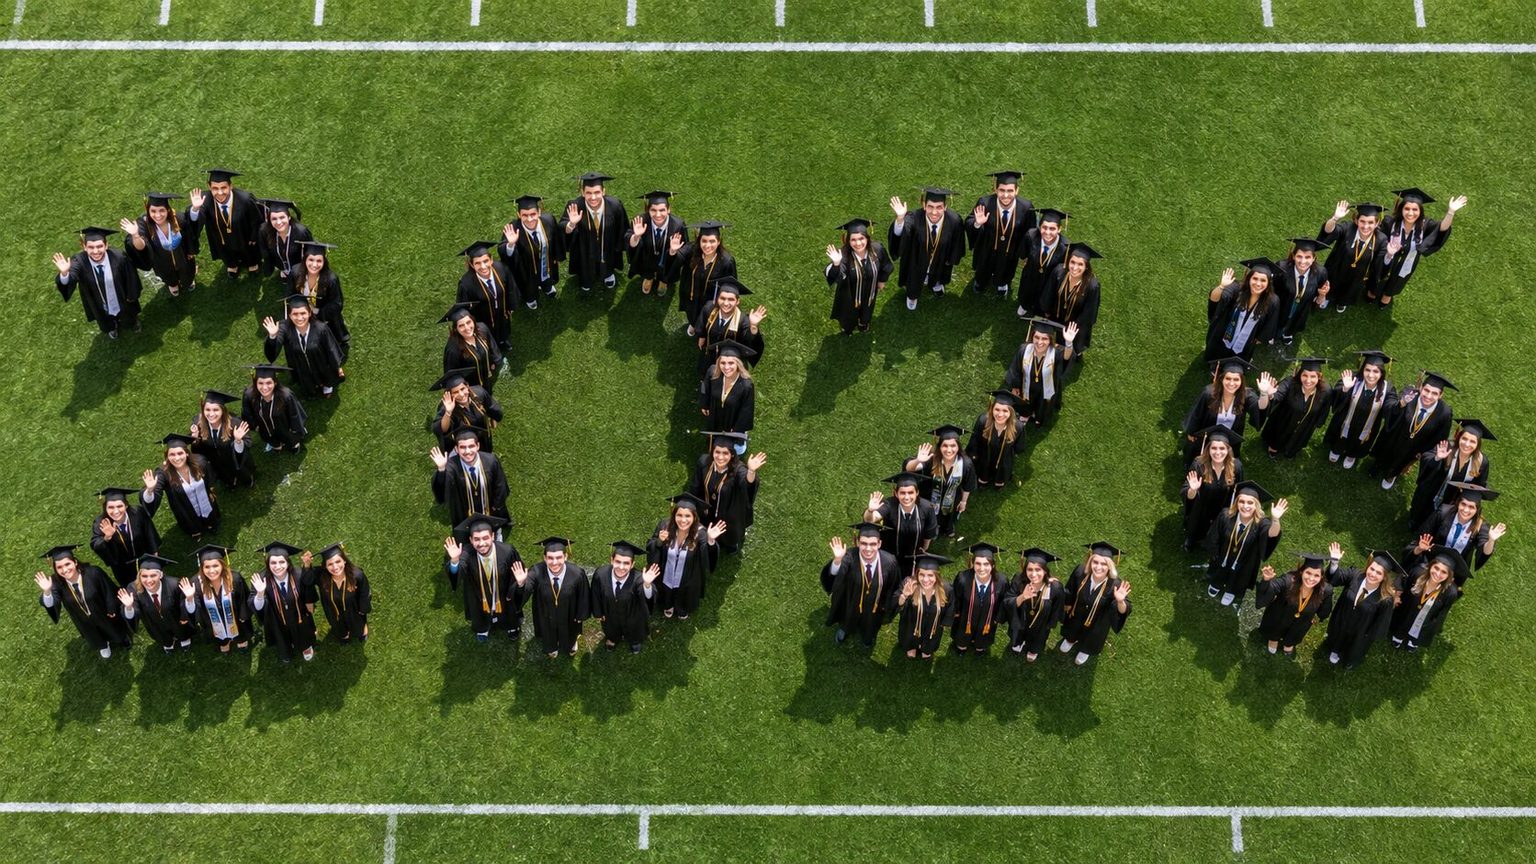
19. The Letter or Shape
Arrange the group to spell a word, form a number (the year, an anniversary), or create a shape (a heart, a logo outline). Best shot from directly above with a drone.
Overused at corporate events but still effective for meaningful numbers: a 50th anniversary, a graduating class year, a company founding date.
20. The Two-Group Merge
Split a very large group (30+) into two halves. Photograph each half separately with identical settings and framing. Merge in post-production, or simply present them as a matched pair.
This sounds like cheating. It’s not. It’s how most professional group photographers handle groups above 30, because the logistical difficulty of arranging 40+ people makes diminishing returns hit hard.
Friend Group Photos
Friend photos should feel like inside jokes look. The energy is casual, spontaneous, and slightly chaotic. The best friend group photos have movement.
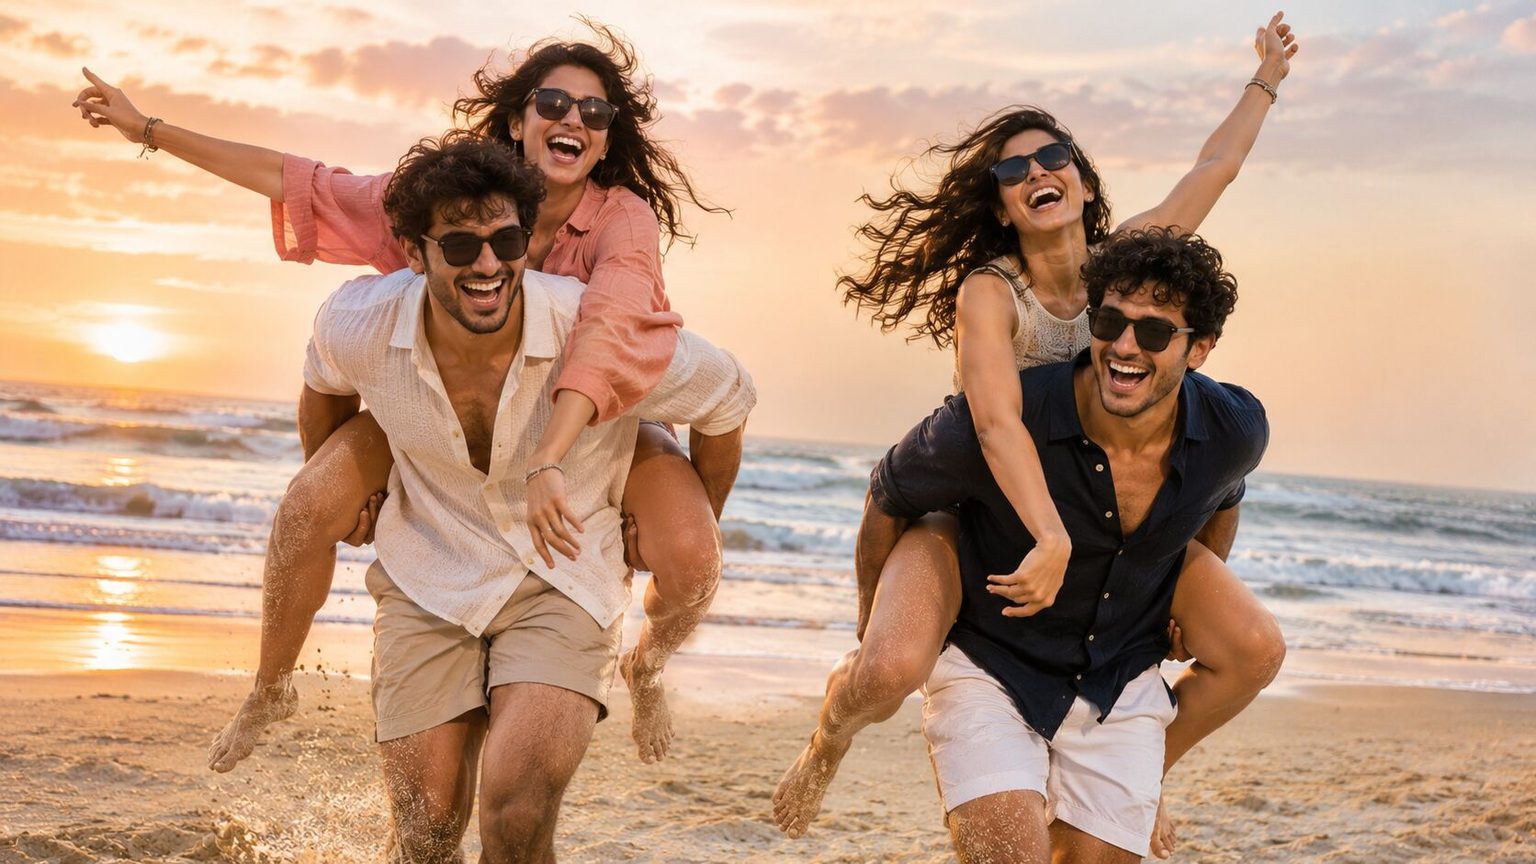
21. The Piggyback Pyramid
Two people give piggyback rides while one person stands in the middle with arms up. Silly, energetic, and guaranteed to produce real laughter (which makes real expressions).
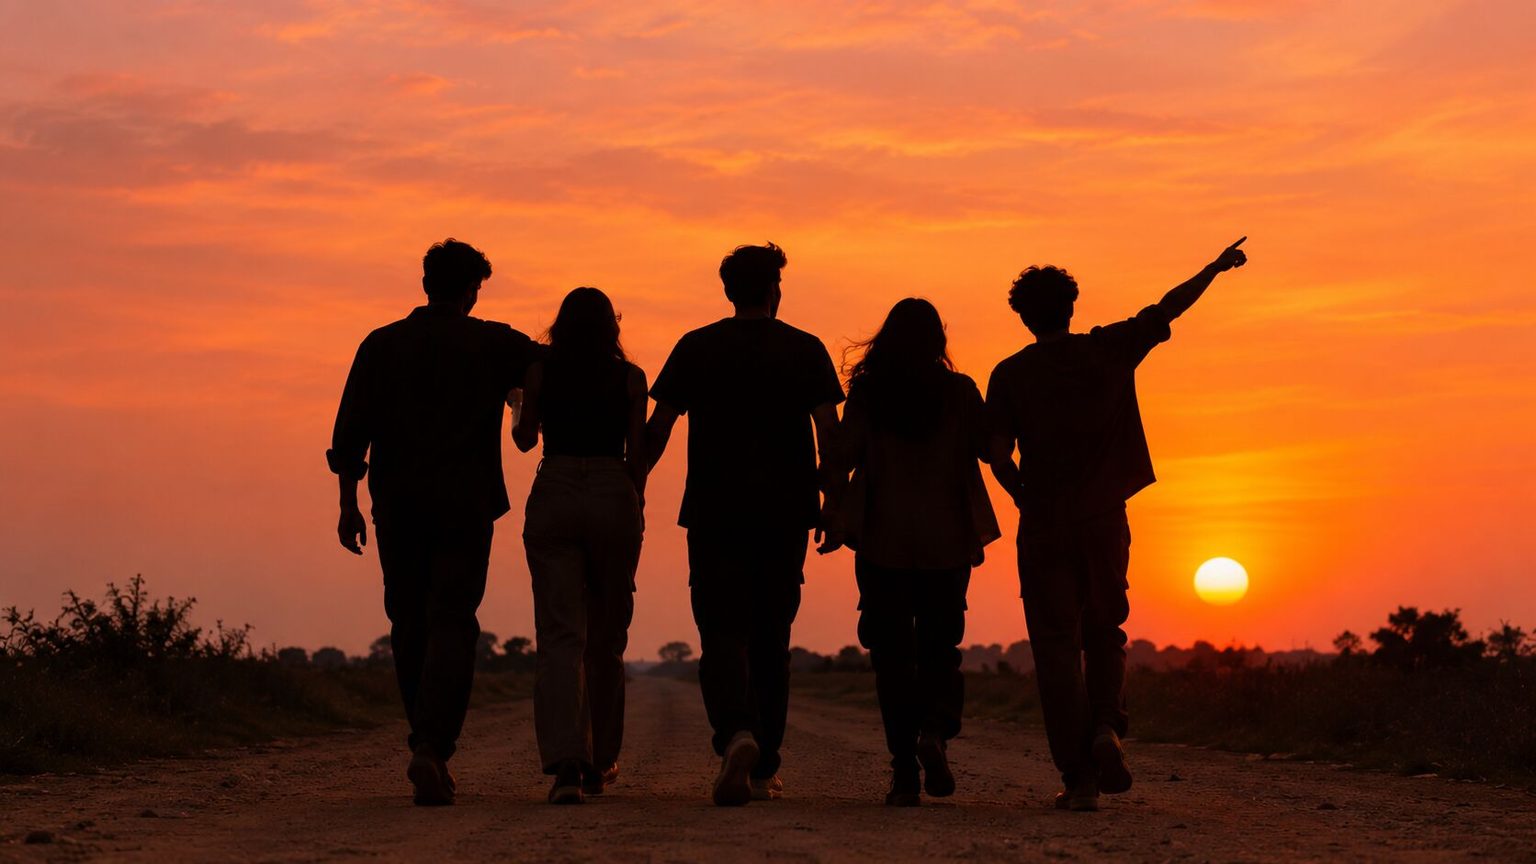
22. The Candid Walk-Away
The group walks away from the camera, shot from behind. Best at golden hour on an open road, beach, or field. The silhouette version (shot directly into the setting sun) is a classic for a reason.
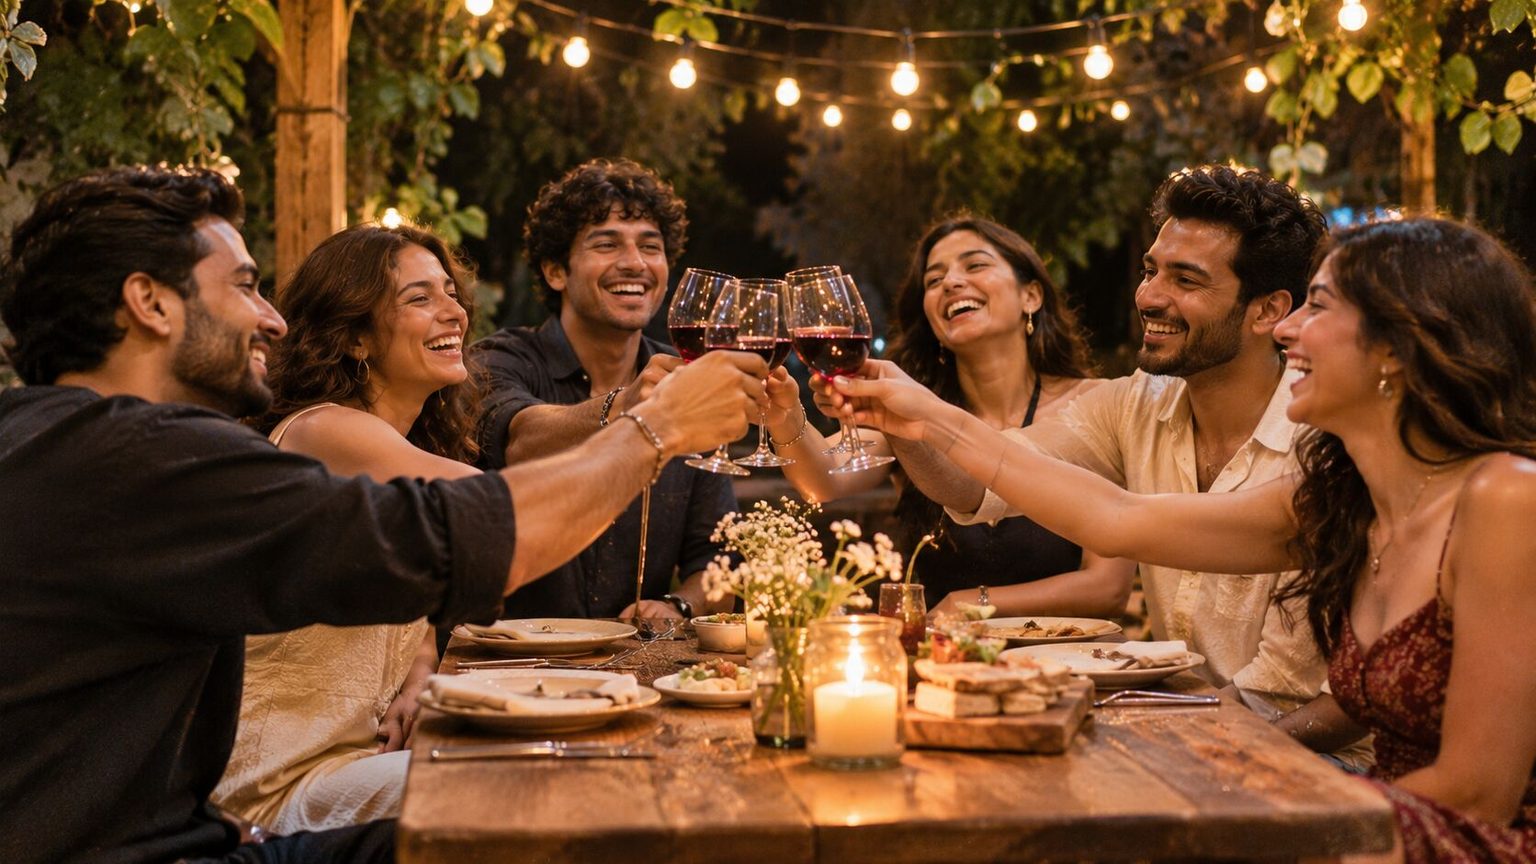
23. The Toast
Everyone raises a glass (or coffee cup, or water bottle). The photographer shoots the moment of the clink. The gesture gives everyone something to do with their hands, which solves the most common posing problem in group photos.
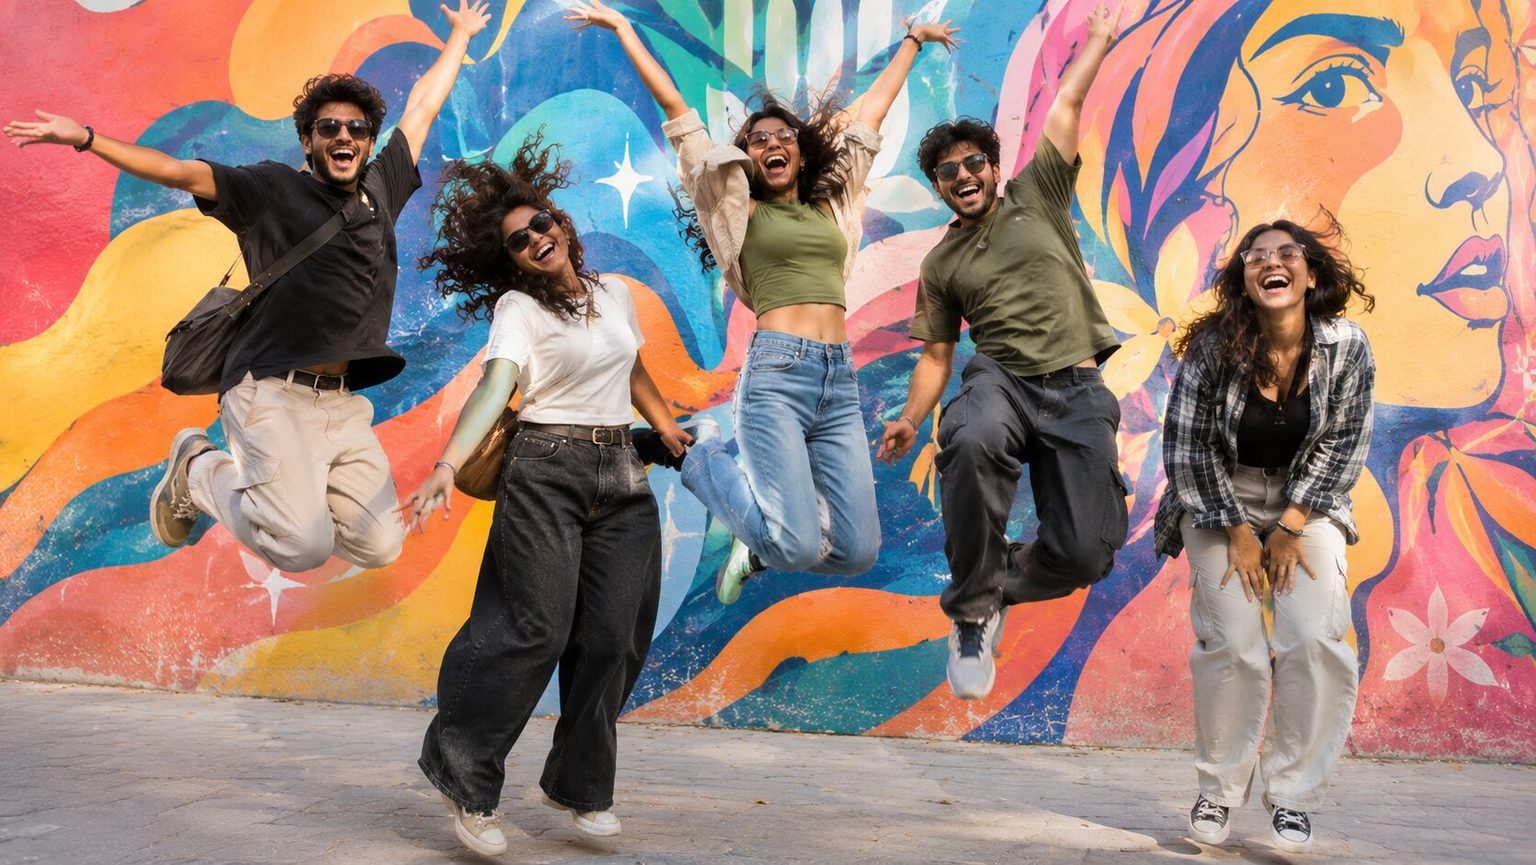
24. The Jump Shot
Everyone jumps at the same time. The photographer shoots in burst mode and picks the frame where the most people are airborne.
This takes three to five attempts to get right. Tell everyone to jump on a count of three and bend their knees. The outtakes are often better than the final shot.
Family Photos
Family photos carry weight because they’re the ones that get framed, printed, and passed down. The arrangement needs to feel intentional without feeling stiff.
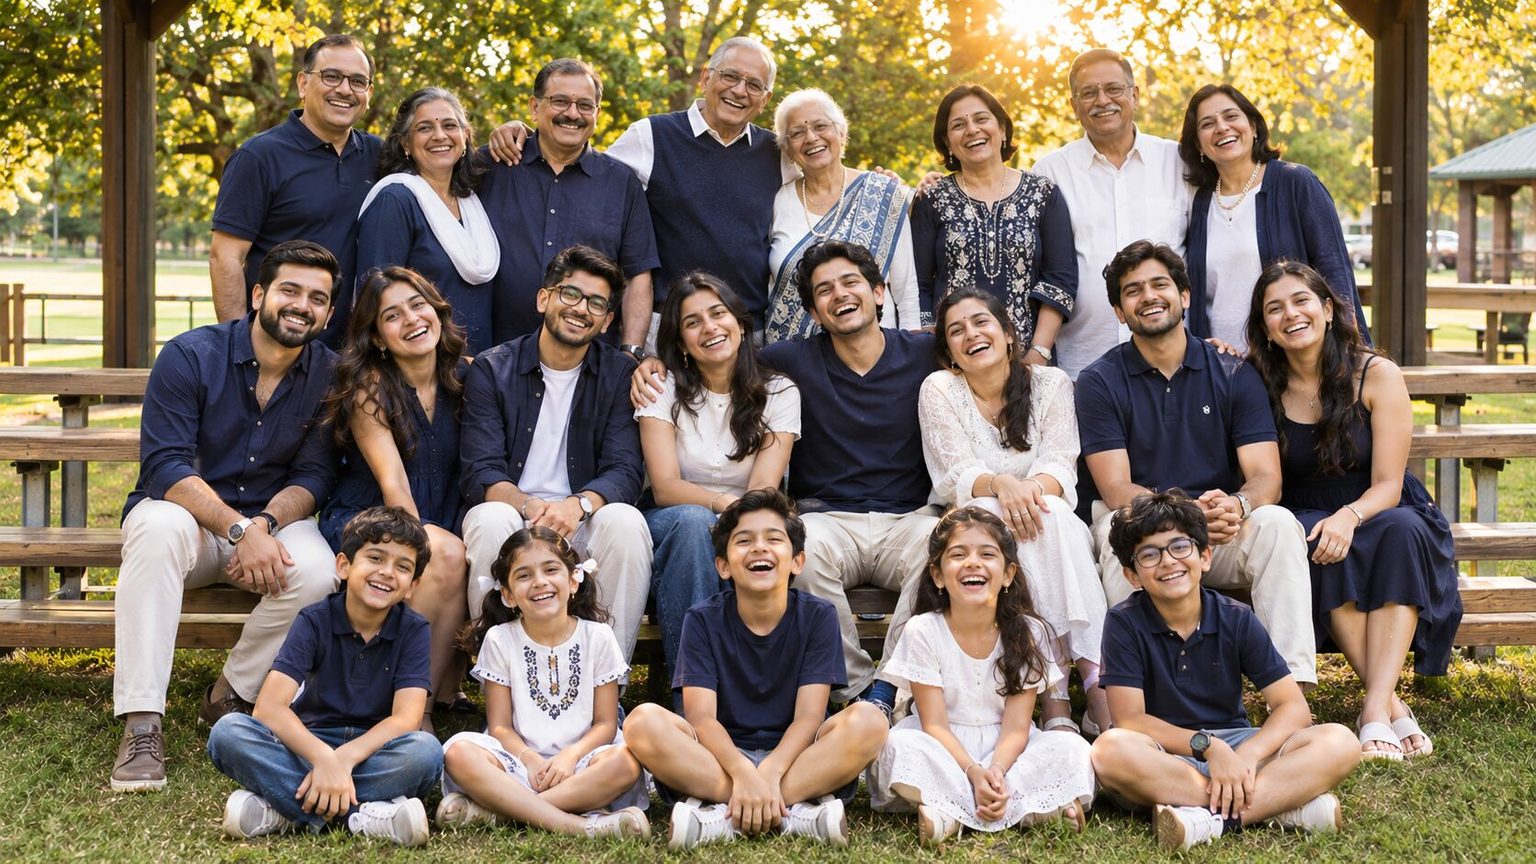
25. The Generation Layers
Grandparents seated in the center. Parents standing behind. Kids on the ground in front or on laps. It’s traditional because it works: it shows the family structure at a glance and puts the eldest generation in the place of honor.
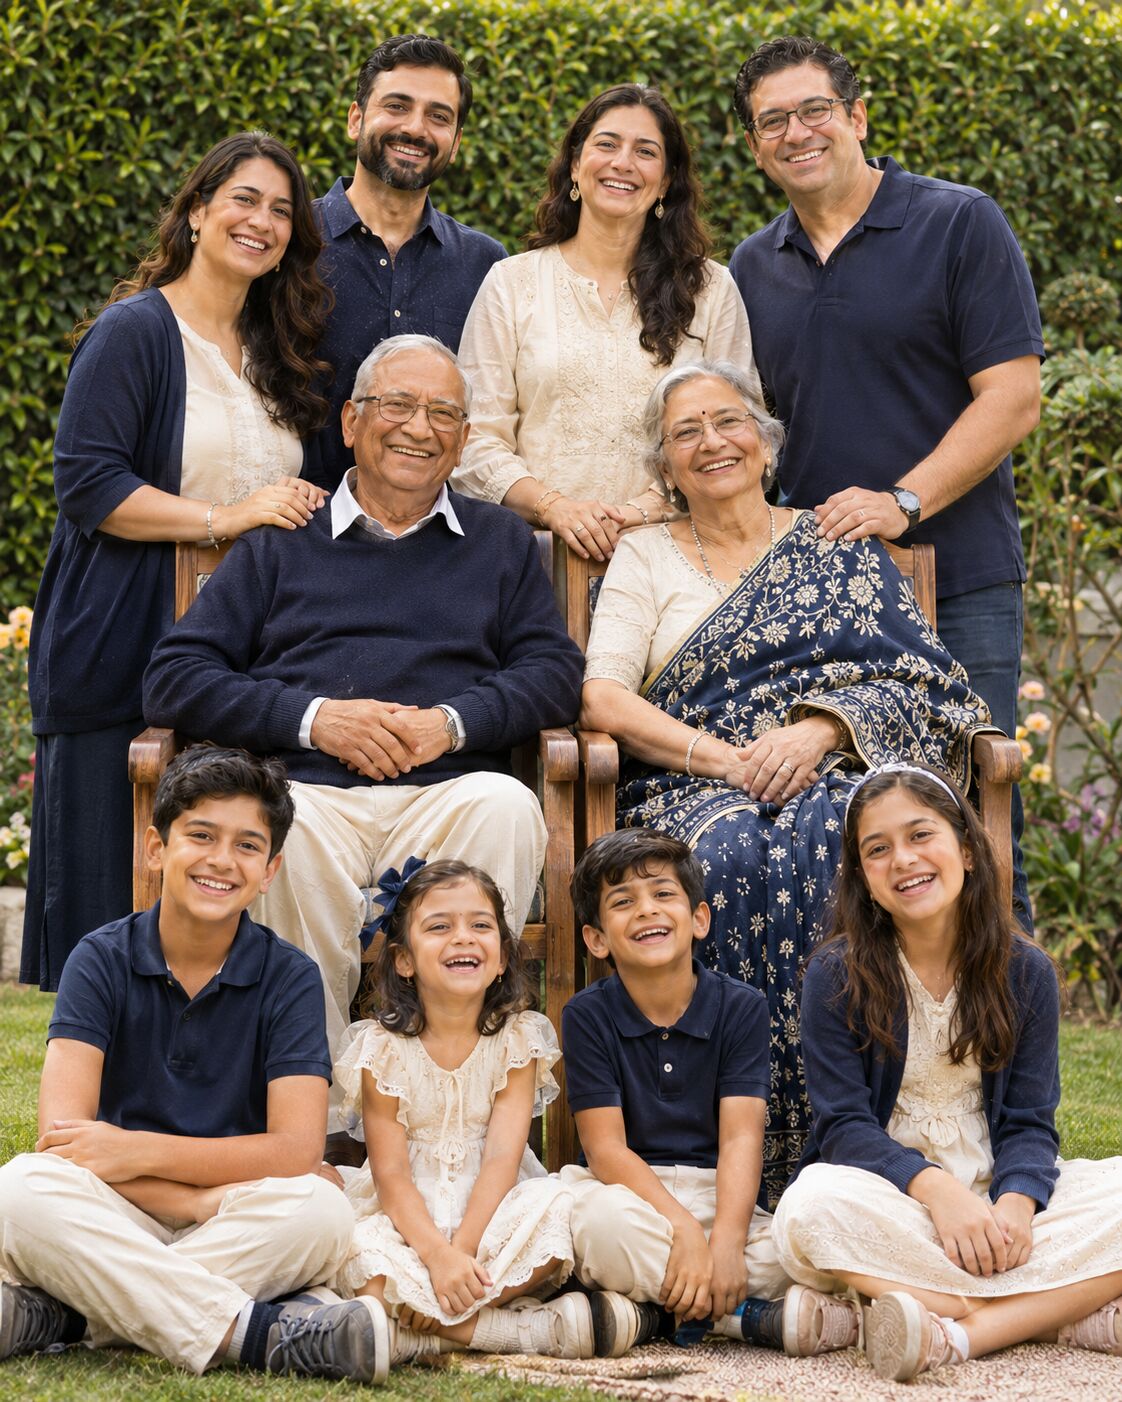
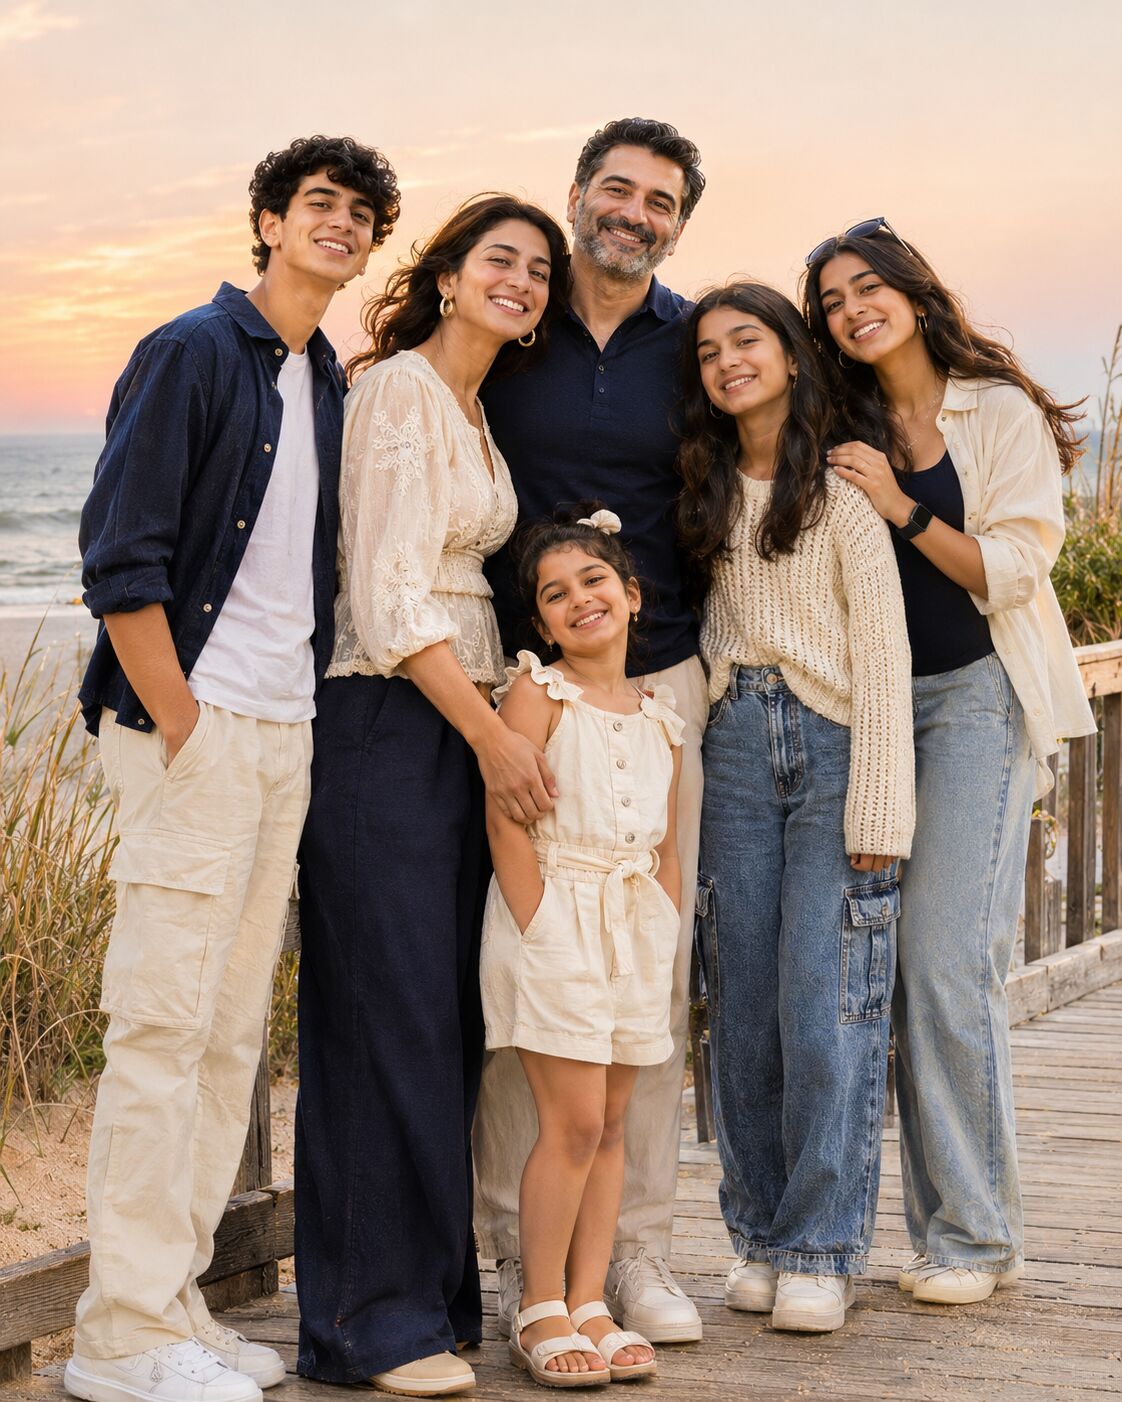
26. The Color-Coordinated Casual
Everyone wears the same color palette (not identical outfits, the same palette). Earth tones, neutrals, denim-and-white, navy-and-cream. The coordination creates visual cohesion without the matching-polo-shirt energy of the early 2000s.
Choosing the right palette for a large family is harder than it sounds. Our guide to large-group family photo color schemes covers which combinations work for every skin tone and setting.
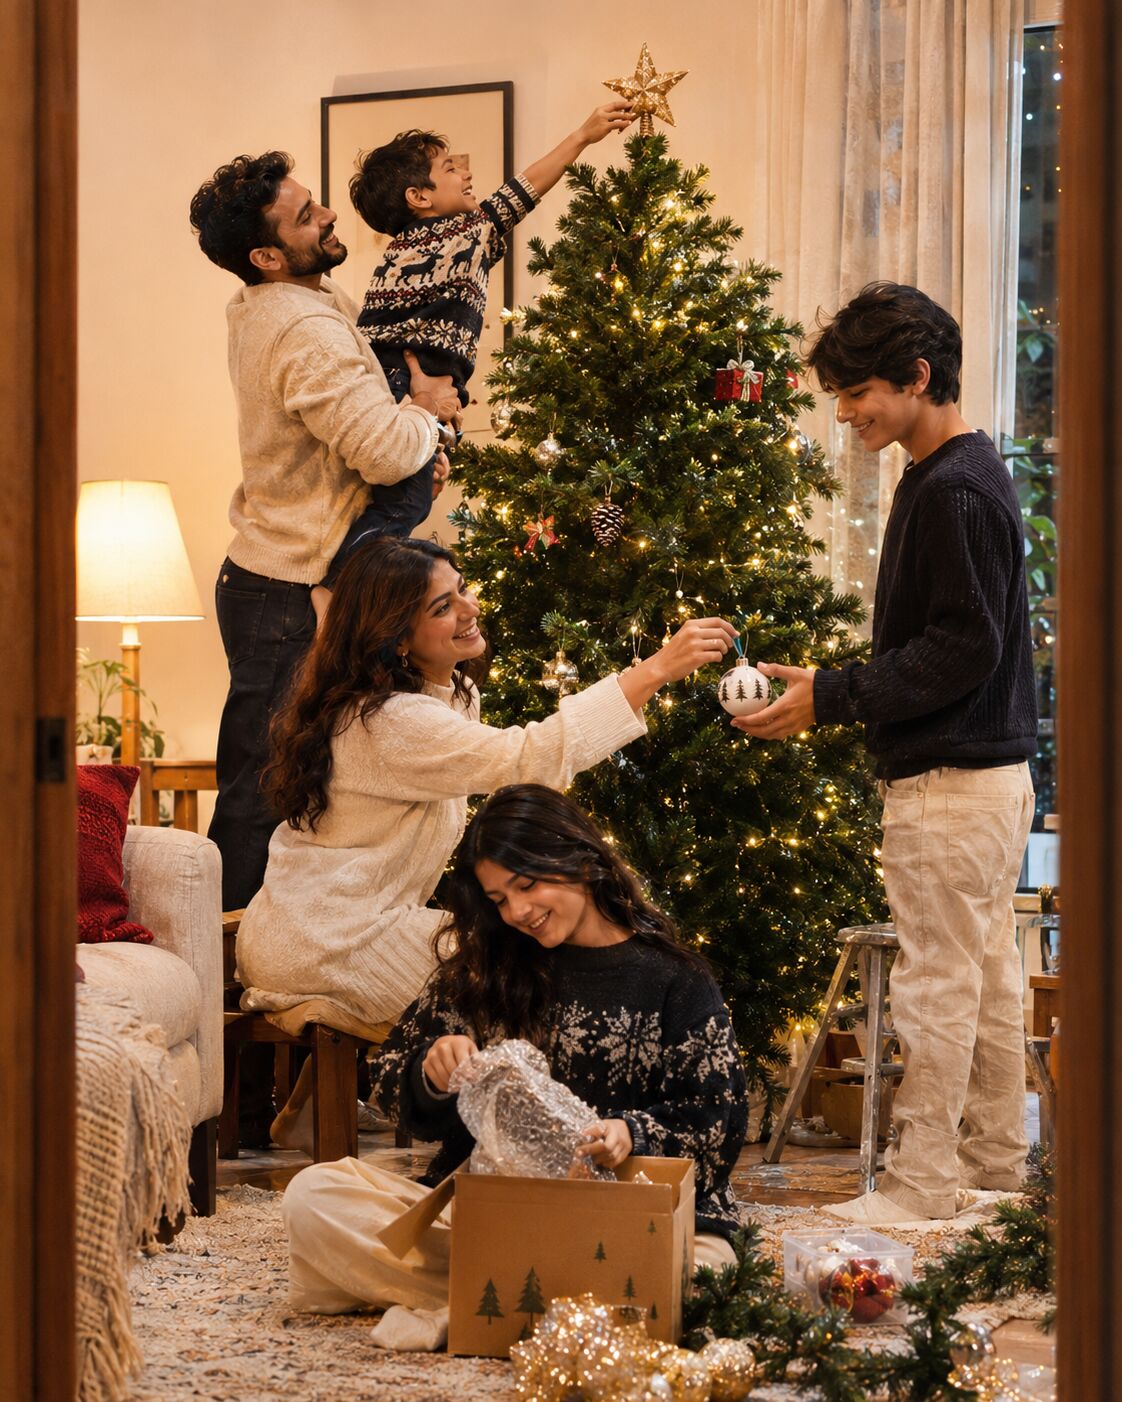
27. The Activity Shot
The family doing something together: walking, cooking, playing a game, decorating a tree. The photographer captures the moment rather than posing it. The key is giving the family a real activity and shooting through it, not staging a fake version of an activity.
Professional and Team Photos
Team photos serve a specific purpose: they go on the website, in the annual report, on the company LinkedIn page. They need to look polished, consistent, and intentional.
28. The Staggered Corporate
Two to three rows, everyone in business or business-casual attire, staggered so every face is visible between the shoulders of the row in front. Clean background (office lobby, exterior wall, solid backdrop).
The key to making this not look like a hostage photo: tell people to angle their bodies slightly (not straight-on to the camera) and give a soft, natural expression instead of a forced smile.

For more professional team setups, our team photo ideas guide covers everything from outdoor casual to formal boardroom shots.
29. The Matching Individual Headshots
Here’s the modern alternative that more companies are switching to. Instead of coordinating a single group shoot (scheduling 15 busy people in the same place, same day, same hour), each team member gets individual headshots with matching lighting, backgrounds, and style.
The result: a grid of consistent, professional photos on the team page that look cohesive without anyone needing to stand in a row. When someone joins or leaves the team, you update one photo instead of reshooting the entire group.

Headshot Photo makes this practical even for large teams. Each person uploads their own selfies and gets 40 to 100 professional headshots with consistent lighting and backgrounds, starting at $34 per person. No photographer, no scheduling, no “can everyone be free next Tuesday at 2 PM.”
For more on making team headshots consistent, check out our corporate team headshots guide.
30. The Casual Team Candid
The team around a table, at a whiteboard, in a conference room, on a rooftop. Everyone is engaged in what looks like a real meeting or brainstorm. The photographer captures the moment from outside the circle.
This is the “culture” photo. It goes on the careers page, the about page, and the pitch deck. The trick: give the team an actual discussion topic. “Talk about your favorite project” works better than “pretend to have a meeting.”

Our business team photos guide covers more candid setups and how to make them look authentic.
Camera Settings for Group Photos
The best arrangement in the world won’t save a group photo if the camera settings are wrong. Here’s the technical side.
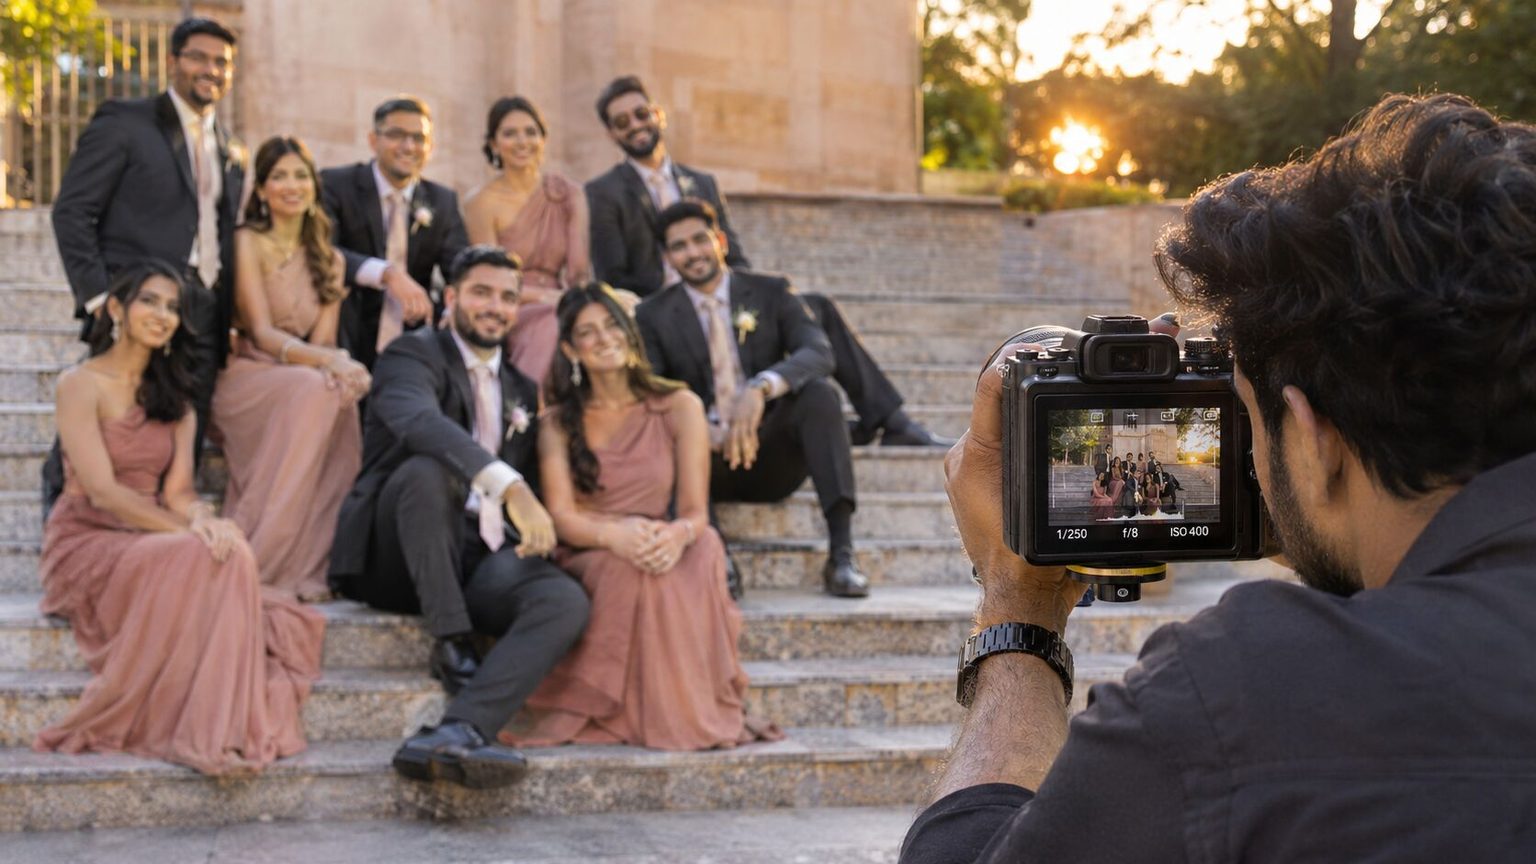
Aperture: f/5.6 to f/8 for groups of 3 to 10. f/8 to f/11 for groups over 10. The common mistake is shooting wide open (f/2.8 or lower), which puts some faces in focus and blurs others. In a group photo, everyone needs to be sharp.
Focal length: 35mm to 50mm for most group sizes. Go wider (24mm to 35mm) only for very large groups (20+), and keep people away from the frame edges where wide-angle distortion stretches faces. For small groups, 50mm to 85mm keeps proportions natural.
Shutter speed: 1/200th of a second minimum. Groups move. Kids fidget. People sway. Anything slower than 1/200th risks motion blur, especially in the back rows where small movements are amplified.
ISO: Whatever you need to hit those aperture and shutter targets. Modern cameras handle ISO 800 to 1600 without noticeable noise. Don’t sacrifice aperture depth or shutter speed to keep ISO low.
Focus: Focus on the front row’s eyes, then stop down enough that the back row falls within the depth of field. With larger groups, focus one-third of the way into the group (not the front row, not the center) for the best depth-of-field coverage.
Burst mode: Always. Shoot 5 to 10 frames per setup. With groups, you’re playing the odds: someone blinks in every frame, but rarely the same person twice. Pick the frame with the most open eyes.
Quick Tips That Apply to Every Group Photo
Shoot into the shade, not the sun. Direct sunlight creates squinting and harsh shadows. Open shade (under a tree, the shadow side of a building) gives even, flattering light on every face.
Give people something to do with their hands. The number one cause of awkward group photos is idle hands. Arms crossed, hands in pockets, holding a prop, arm around the next person. Anything is better than hands hanging straight down.
Take the photo before people are ready. The transition from “getting into position” to “posing” is often more natural than the pose itself. Some of the best group shots happen in the two seconds before the official photo.
Count down from three, but shoot on two. People brace for “one” and their expressions tense. Shooting on “two” catches a more relaxed face.
Always shoot more than you think you need. For a group of 10, shoot at least 10 frames per arrangement. For 20+, shoot 15 to 20. Someone will blink, sneeze, look away, or make a face in every single one. Volume is your insurance.
Frequently Asked Questions
What is the best pose for a group photo of 10 to 15 people?
The two-row setup works best for groups of 10 to 15. Front row seated or kneeling, back row standing, staggered so every face is visible between the shoulders of the row ahead. If you have stairs or tiered seating, use them for a third row. Shoot at f/8 to ensure everyone is in focus. The key is keeping the rows close together so the back row’s faces aren’t tiny compared to the front.
How do you arrange a large group photo of 20 or more people?
Elevation is essential. Use bleachers, stairs, a hillside, or shoot from above (a balcony or drone). Arrange people in three to four rows with consistent spacing. Place the tallest people in the back and children in the front. Have the arrangement planned before the group assembles. With 20+ people, every minute of standing and waiting costs you natural expressions.
What colors should a group wear for photos?
Coordinate, don’t match. Choose a palette of 3 to 4 complementary colors rather than identical outfits. Earth tones (olive, rust, cream, brown) work in natural settings. Navy and white is a classic for professional or family portraits. Avoid neon colors, busy prints, and large logos. The goal is visual cohesion where every person fits the same color story without looking like a uniform.
What camera settings work best for group photos?
Use f/5.6 to f/8 for small groups (3 to 10 people) and f/8 to f/11 for larger groups to keep everyone in focus. Shutter speed should be at least 1/200th of a second to freeze movement. Focus one-third of the way into the group for optimal depth-of-field coverage. Always shoot in burst mode and take multiple frames per arrangement.
How can a remote or hybrid team get a professional team photo?
The most practical option for distributed teams is individual AI headshots with matched settings. Each person uploads their own selfies and receives professional headshots with consistent lighting, backgrounds, and framing. Tools like Headshot Photo start at $34 per person and produce 40 to 100 options per team member. The results are displayed as a matching grid on the team page, and individual photos can be updated without reshooting the entire group.